Blooming Gel Nail Art – The Trendy Technique Taking Over EveryWhere
What Is Blooming Gel Nail Art?
Blooming gel (also known as blooming base gel or blooming ink) is a special type of gel that helps spread and diffuse gel polish or gel paint placed on top of it, creating a “blooming” or feathering effect.
This technique is perfect for:
- Abstract prints
- Floral designs
- Watercolor effects
- Tie-dye and marble looks
- Smoky nails
5 Blooming Gel Nail Art Ideas
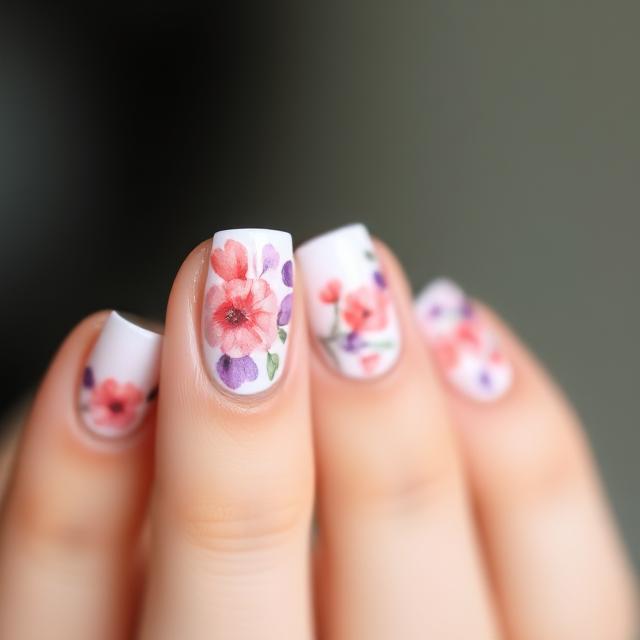
1. Pink Floral Blooming Nails

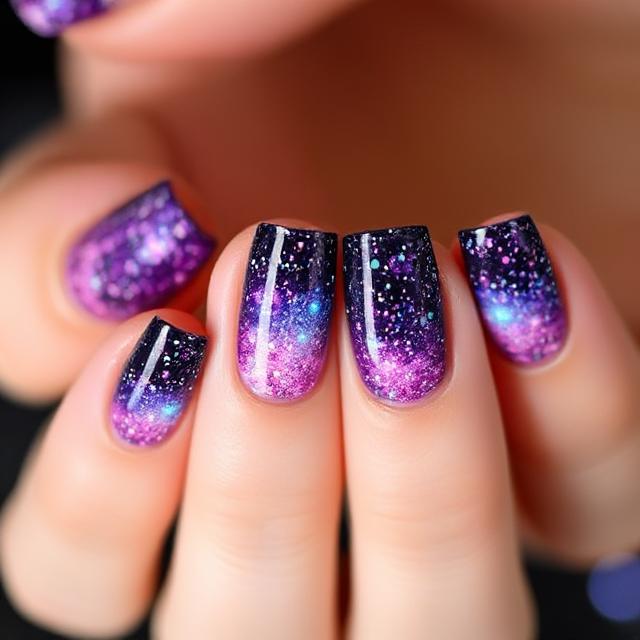
2. Galaxy-Inspired Blooming Effect
3. Neon Marble Blooming Nails

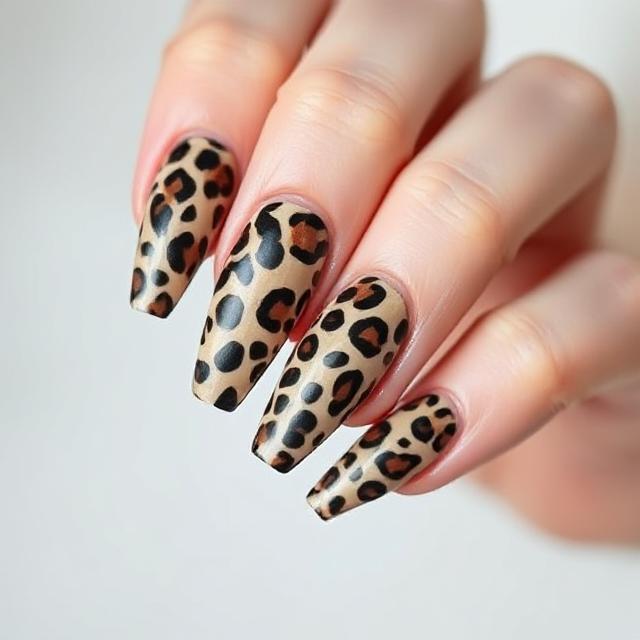
4. Leopard Print Blooming Gel Design
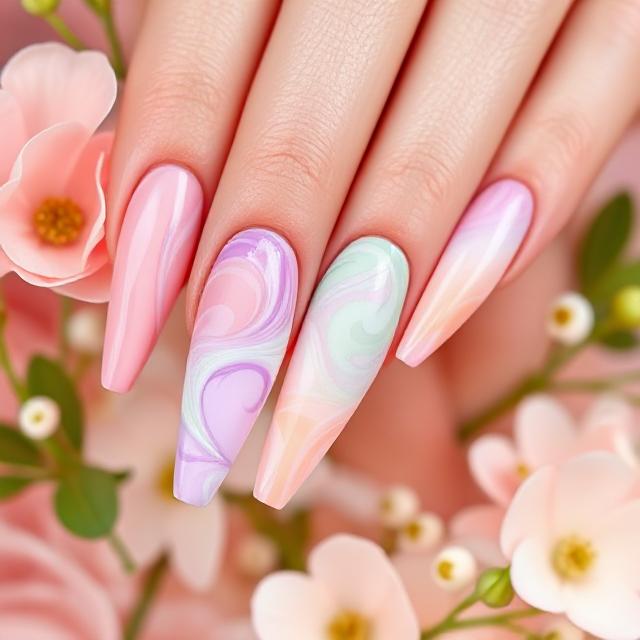
5. Abstract Pastel Swirls
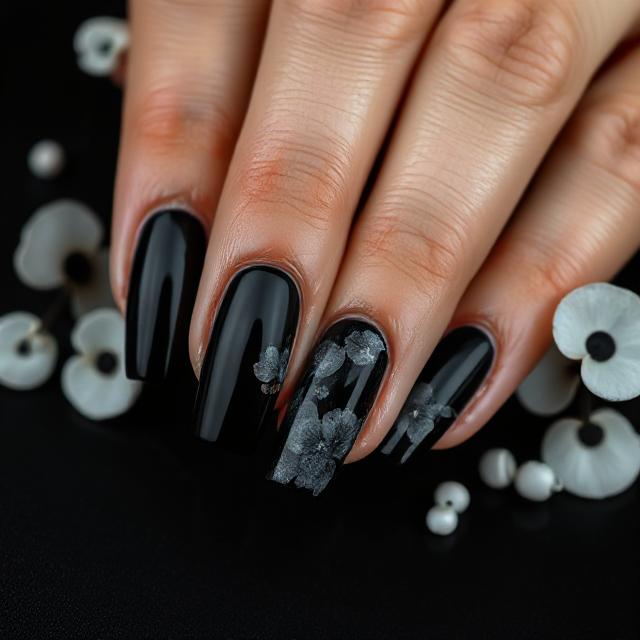
6. Smokey Black Bloom Effect
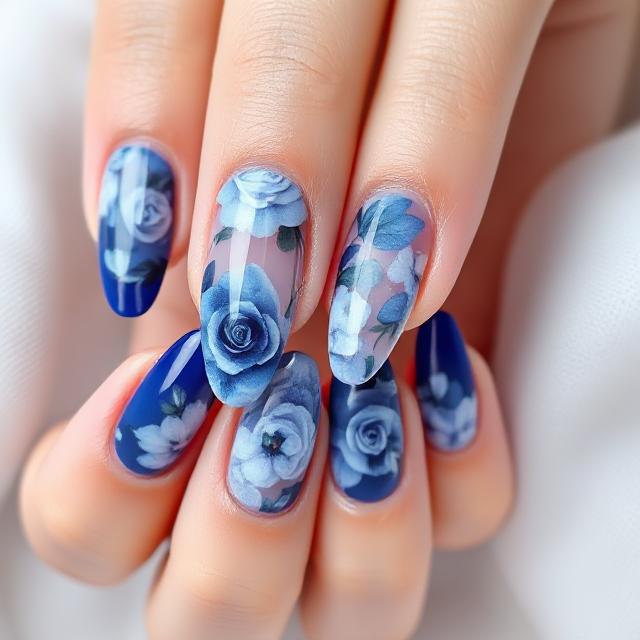
7. Blue Rose Blooming Nails
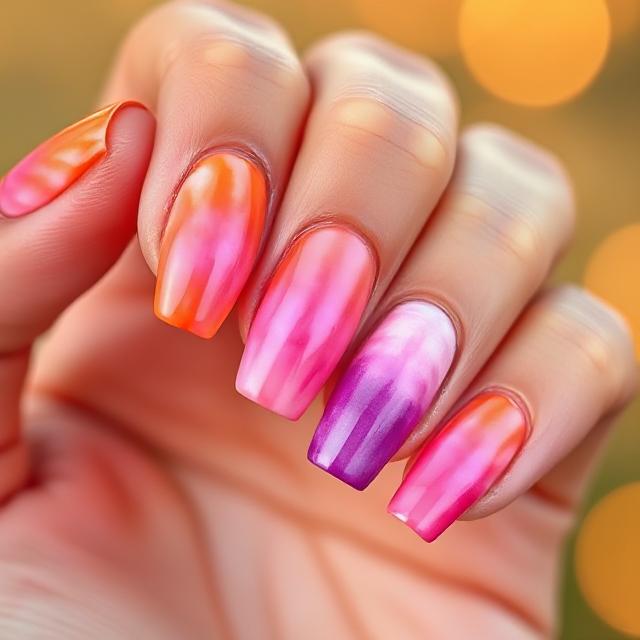
8. Sunset Tie-Dye Effect
9. Milky White with Rainbow Bloom
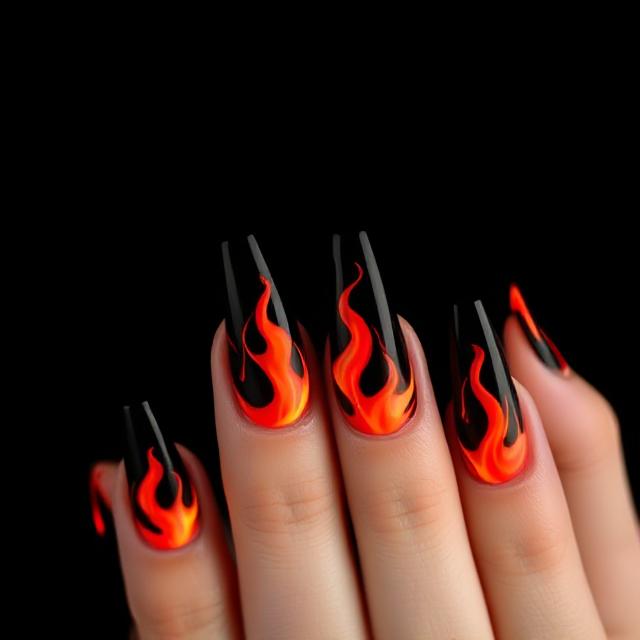
10. Fire Flame Blooming Design
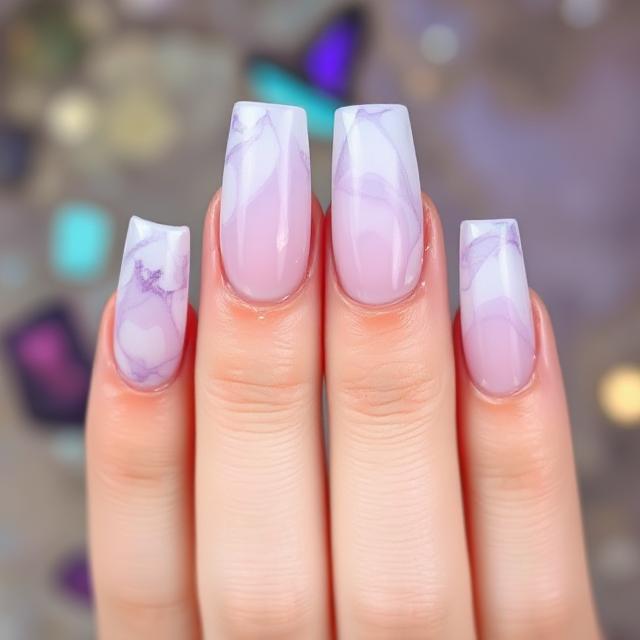
11. Crystal Marble Effect
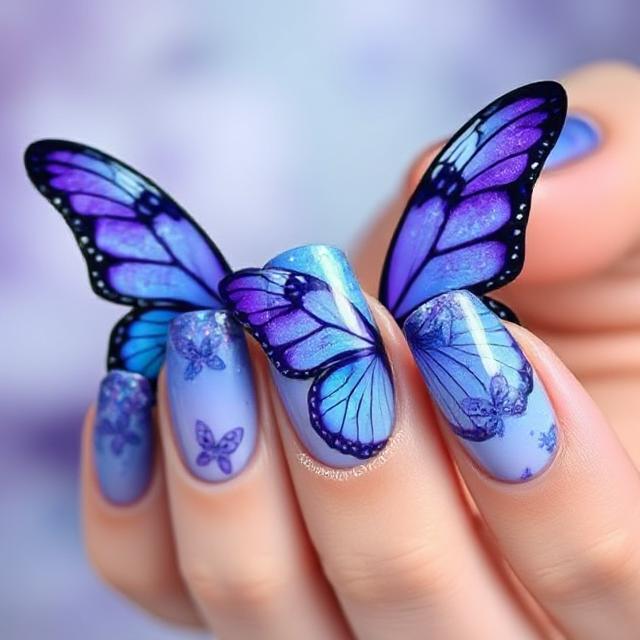
12. Butterfly-Inspired Blooming Nails
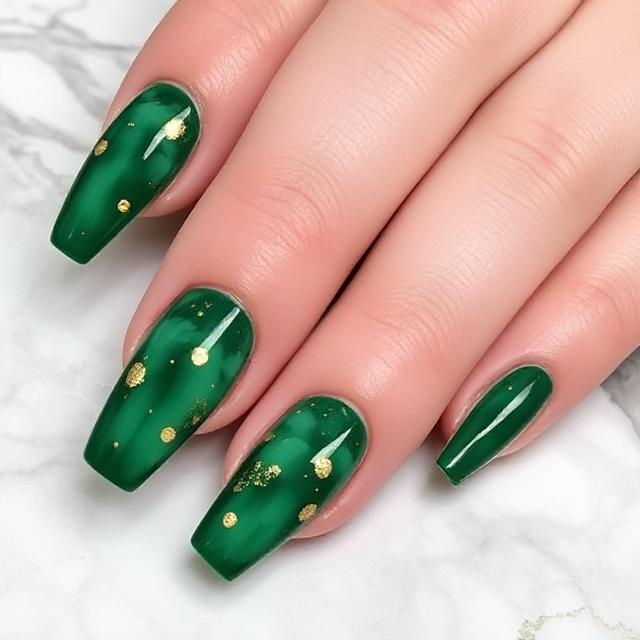
13. Green Bloom with Gold Foil
14. Candy Cloud Nails

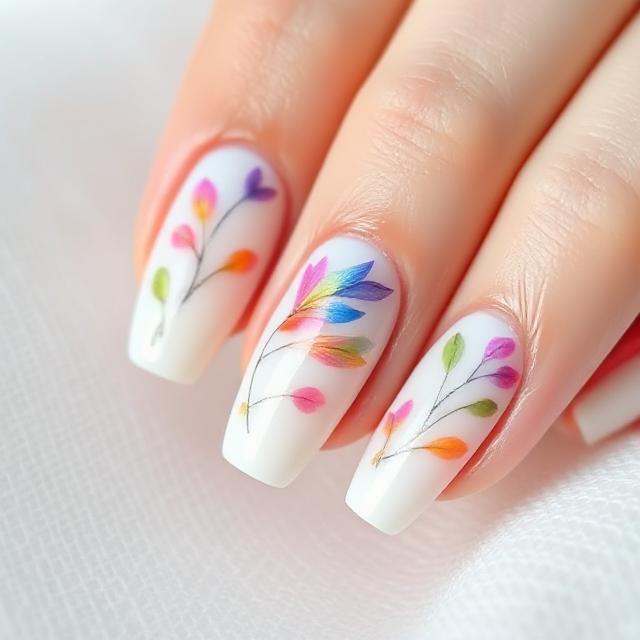
15. Watercolor Floral Accent Nails
🛠️ How to Use Blooming Gel (Step-by-Step)
- Prep & base coat: Start with clean, shaped nails and apply your base gel. Cure.
- Apply blooming gel layer: Don’t cure this layer—this is what makes the magic happen.
- Dot or paint your design: Use a dotting tool or thin brush to add gel polish on top. Watch it bloom!
- Cure the design: Once the blooming effect settles, cure under UV/LED.
- Top coat: Add a glossy or matte top coat to finish and protect your design.
💡 Pro Tips for Pinterest-Perfect Blooming Nails
- Use contrasting colors to make the blooming stand out.
- Don’t overload product—too much gel can make your design muddy.
- Work quickly—the uncured blooming gel will keep diffusing until cured.
- Add gold foil, gems, or negative space to elevate your design further.
📌 Blooming Gel = The Pinterest Nail Art Aesthetic You Need
If you’re into soft glam, dreamy abstracts, or bold prints—blooming gel nail art is your go-to. It’s easy to DIY, looks professional, and is trending hard on Pinterest.