Mesmerizing Cat Eye Chrome Nails: 20 Elegant Ideas
Picture this: you walk into a room, and your nails catch the light like tiny mirrors, shifting and shimmering with every gesture. That’s the magic of cat eye chrome nails, and honestly? Once you try them, regular polish feels like wearing black and white TV when you could have 4K. Click here to level up your fashion game → What suits on you!
I stumbled into the cat eye chrome world by accident last year when my usual nail tech suggested trying something “a little different.” Little did I know I was about to become completely obsessed with these liquid-metal masterpieces that make your fingertips look like they’re straight out of a sci-fi movie.
What Makes Cat Eye Chrome Nails So Special?
Let me break this down for you. Cat eye chrome nails combine two nail art techniques that were already pretty amazing on their own. You’ve got the magnetic cat eye effect that creates those gorgeous, flowing lines, plus the mirror-like chrome finish that reflects light like nobody’s business.
The magic happens when you apply a special magnetic polish over a chrome base. The magnetic particles in the polish respond to a magnet, creating that signature cat eye stripe that moves and shifts depending on the angle. It’s like having a liquid metal mood ring on each finger.
Here’s what makes them absolutely irresistible:
- Light-reflecting properties that change throughout the day
- Depth and dimension you can’t get with regular polish
- Durability that puts regular manicures to shame
- Versatility for both everyday and special occasions
20 Elegant Cat Eye Chrome Nail Ideas That’ll Blow Your Mind
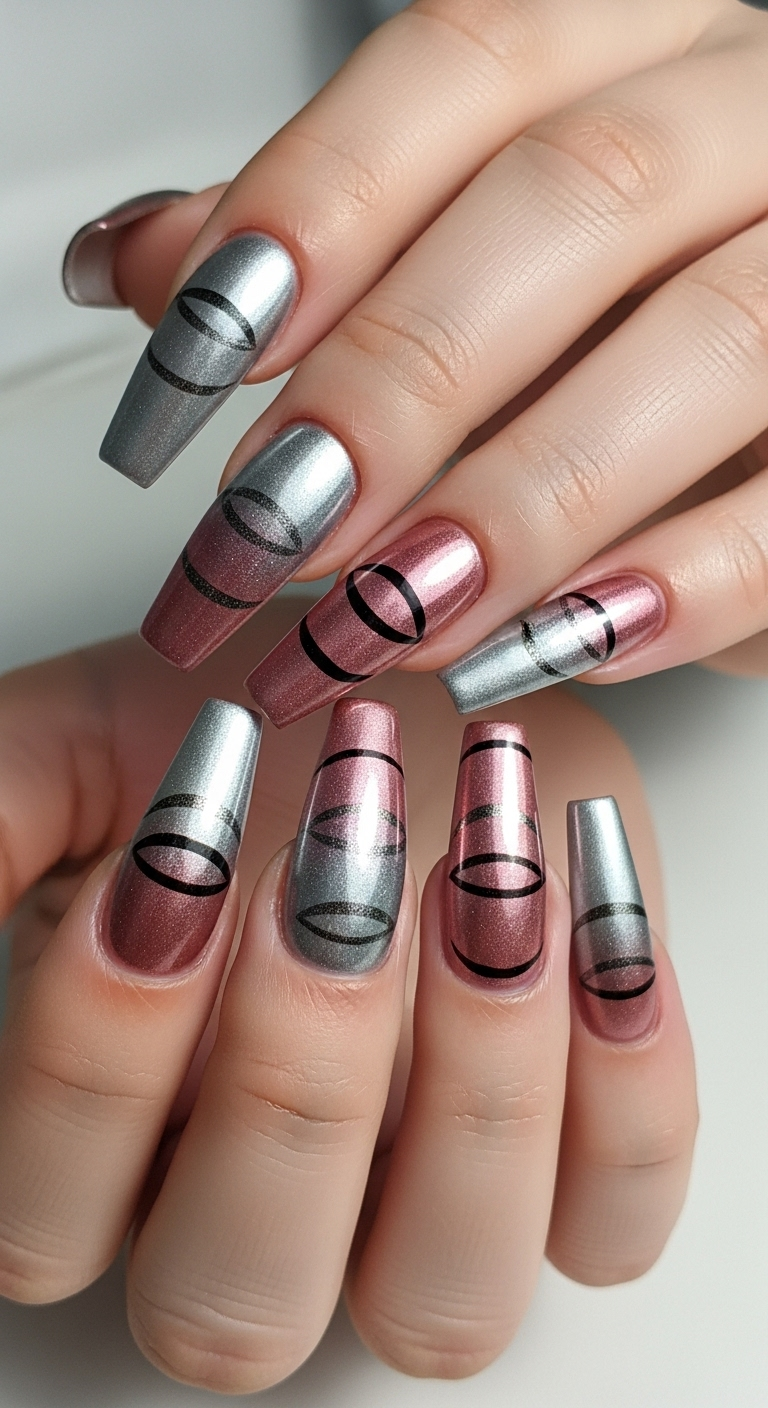
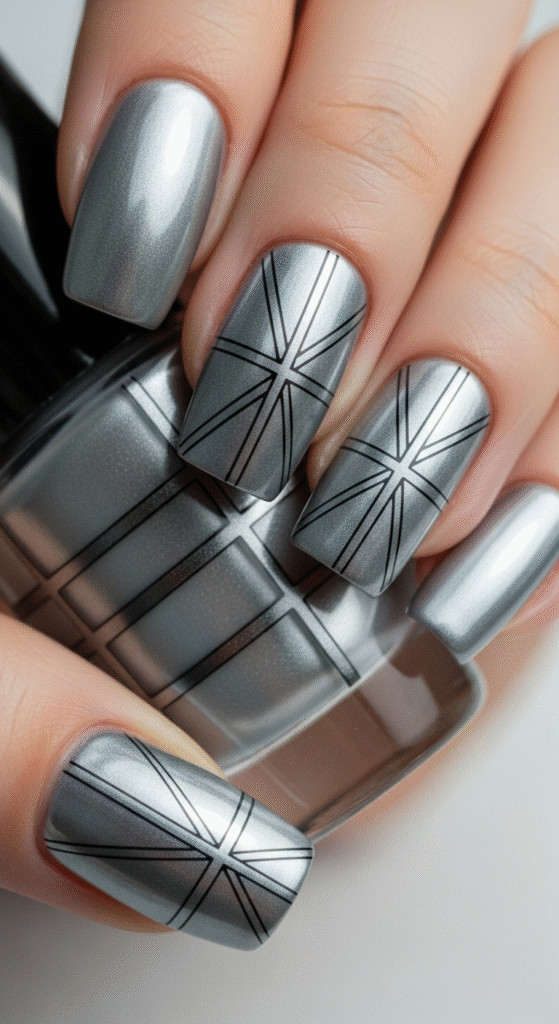
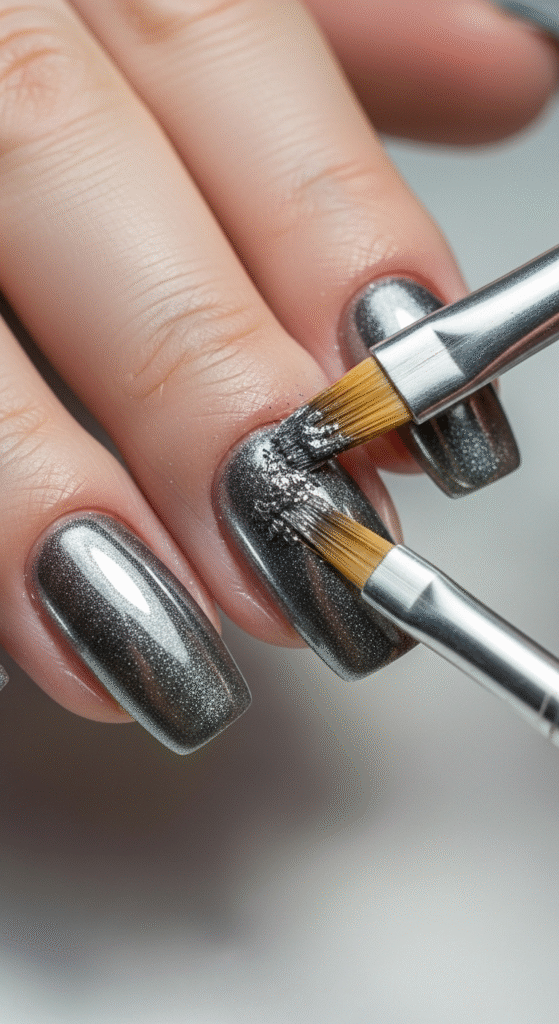
1. Classic Silver Cat Eye Chrome
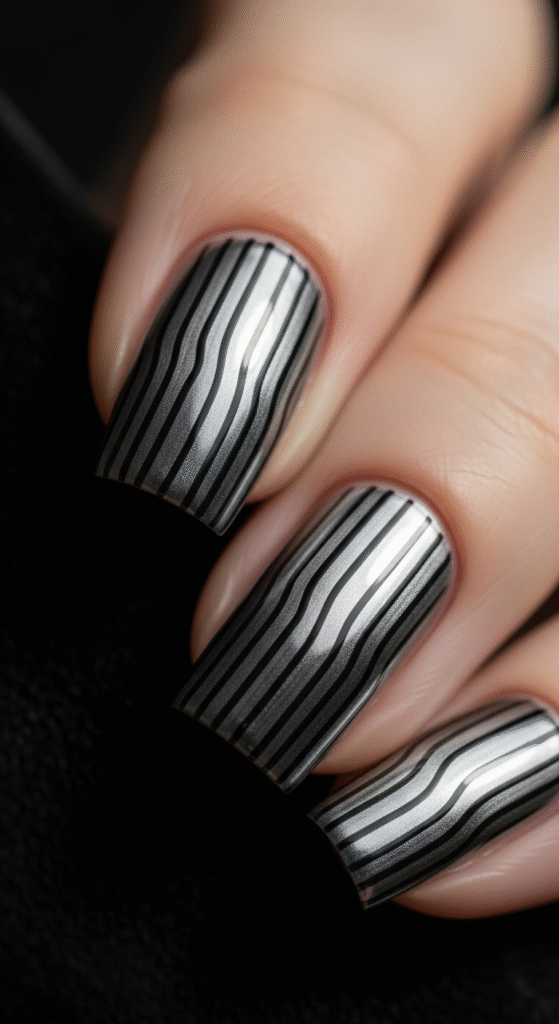
This is where I started my chrome journey, and honestly, it’s still my go-to for important meetings. The silver base creates the most dramatic cat eye effect, and it goes with literally everything in your wardrobe.
2. Rose Gold Romance
Perfect for those who want elegance with a touch of warmth. The rose gold chrome gives you that Instagram-worthy glow, and the cat eye effect adds just enough drama without screaming “look at me!”
3. Deep Burgundy Mystery
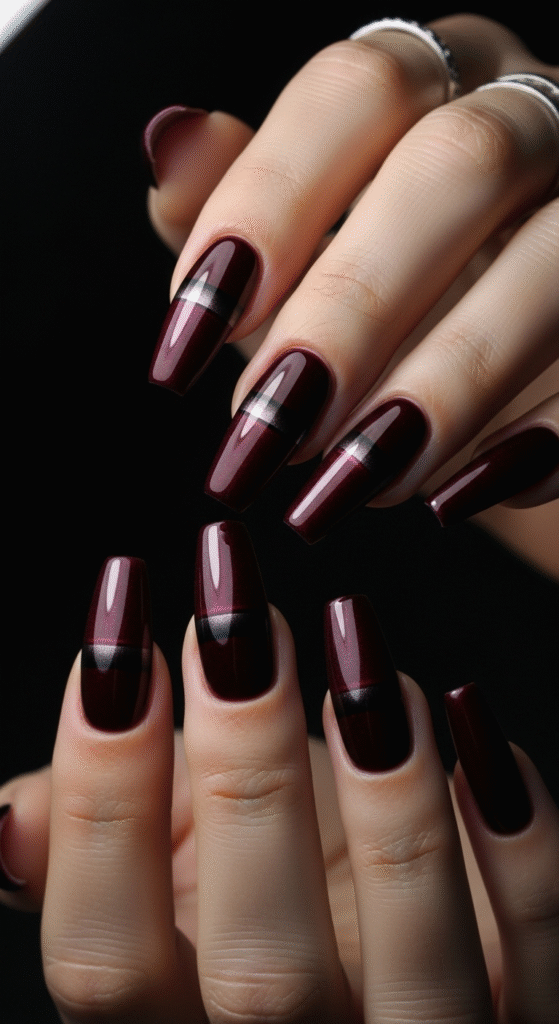
Want to feel like a vampire queen? This burgundy cat eye chrome is your answer. The dark base makes the magnetic stripe pop like lightning against a storm cloud.
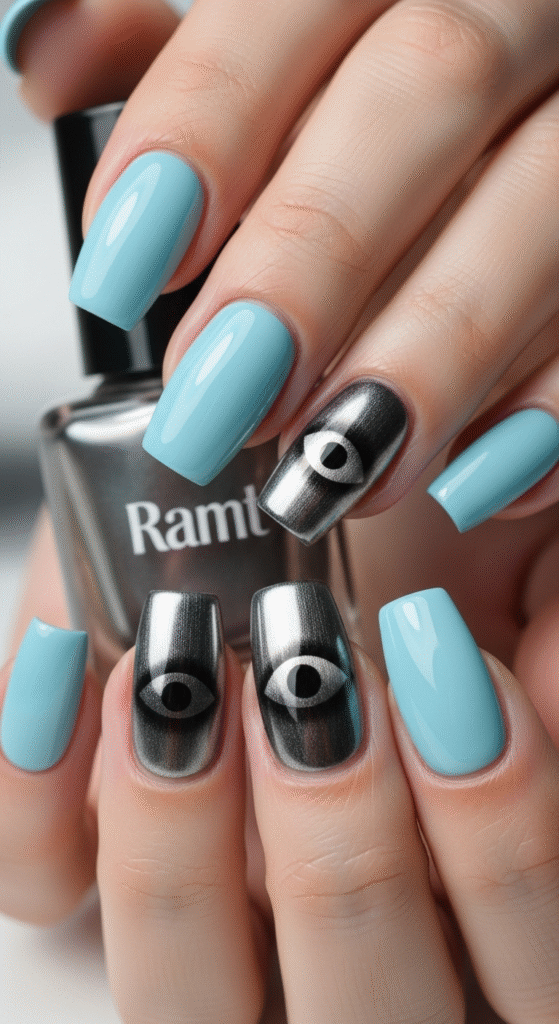
4. Ocean Blue Depths
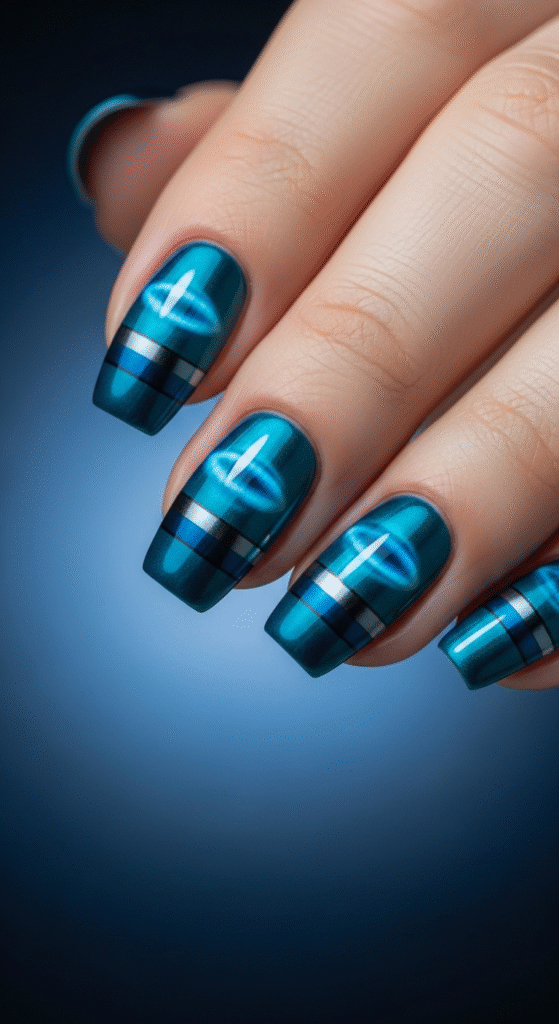
I wore this to a beach wedding last summer, and I swear the compliments didn’t stop coming. The blue chrome base mimics ocean waves, and the cat eye effect looks like sunlight dancing on water.
5. Emerald Green Goddess
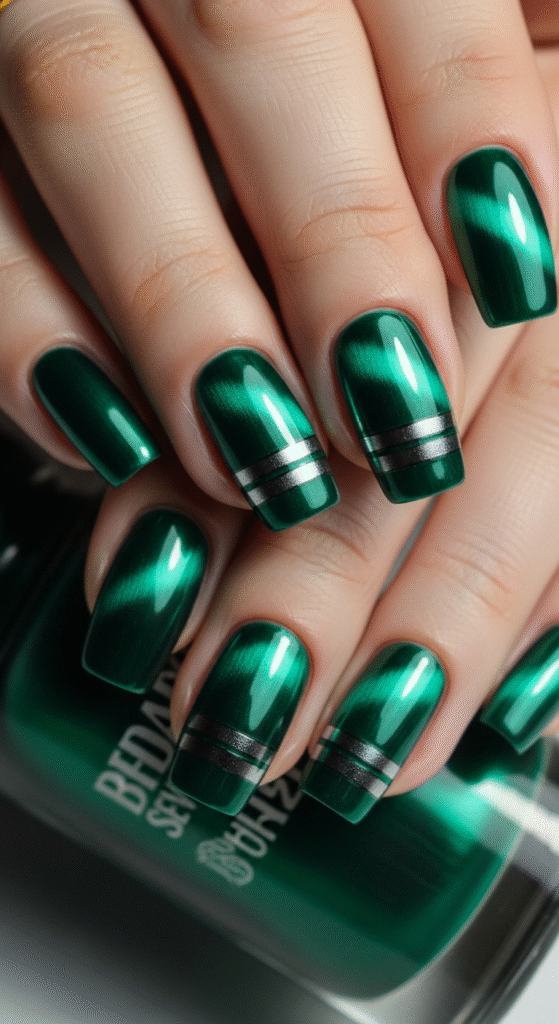
For when you want to channel your inner sorceress. The emerald chrome is bold, mysterious, and that cat eye stripe? Pure magic.
6. Purple Haze Dream
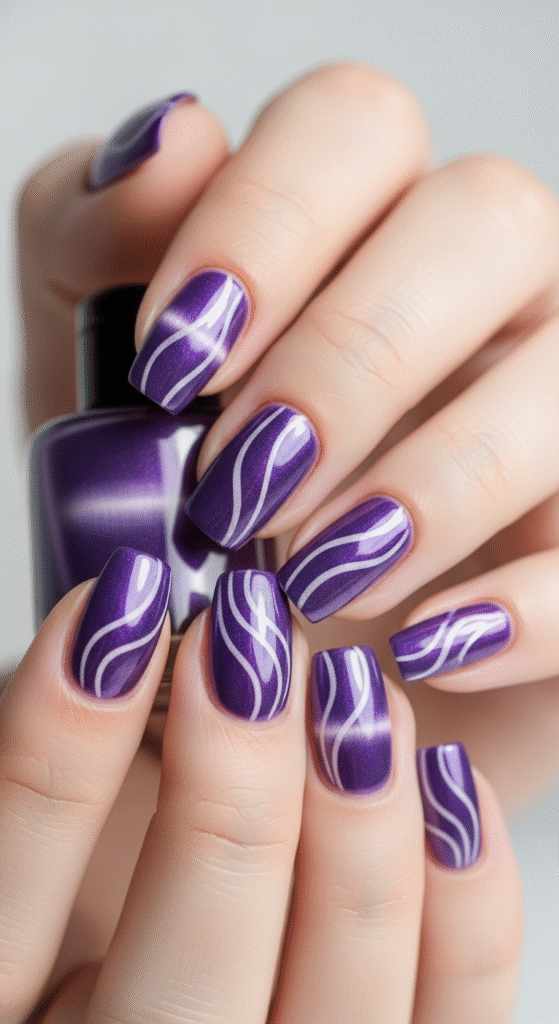
This purple cat eye chrome hits different under different lighting. Fluorescent lights make it look almost black, while natural sunlight reveals gorgeous purple undertones.
7. Copper Penny Chic
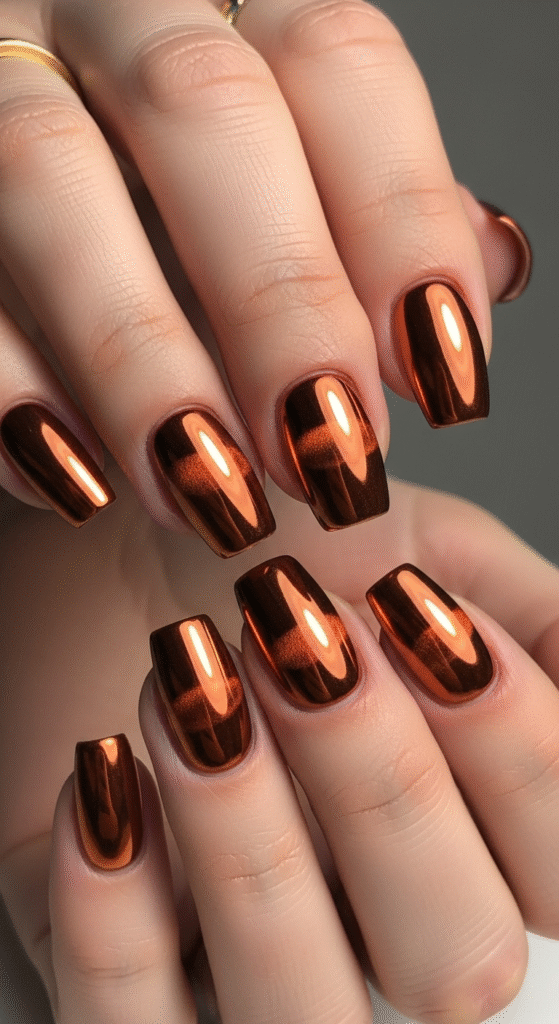
Underrated but absolutely stunning. Copper chrome gives you warmth and sophistication, plus it’s surprisingly versatile with both cool and warm outfit tones.
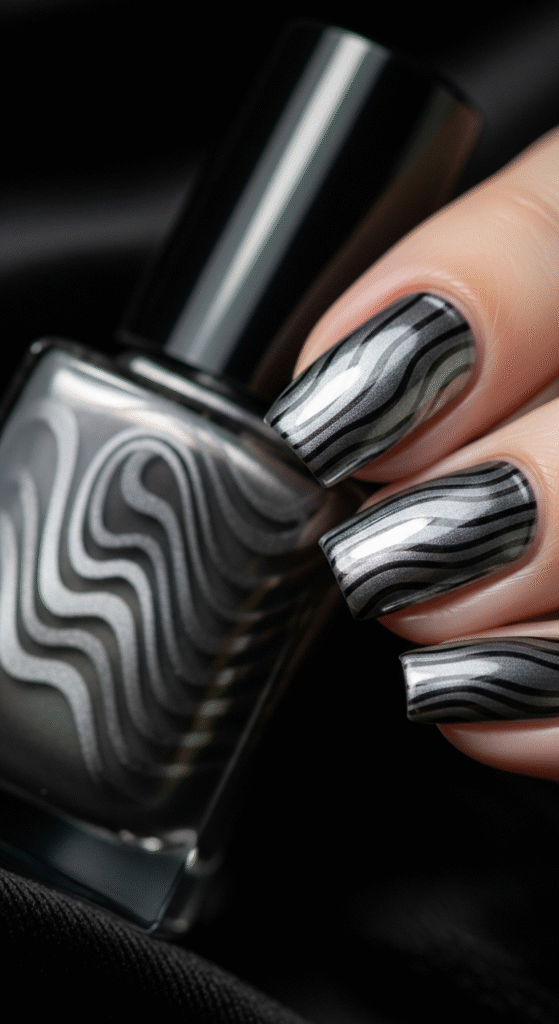
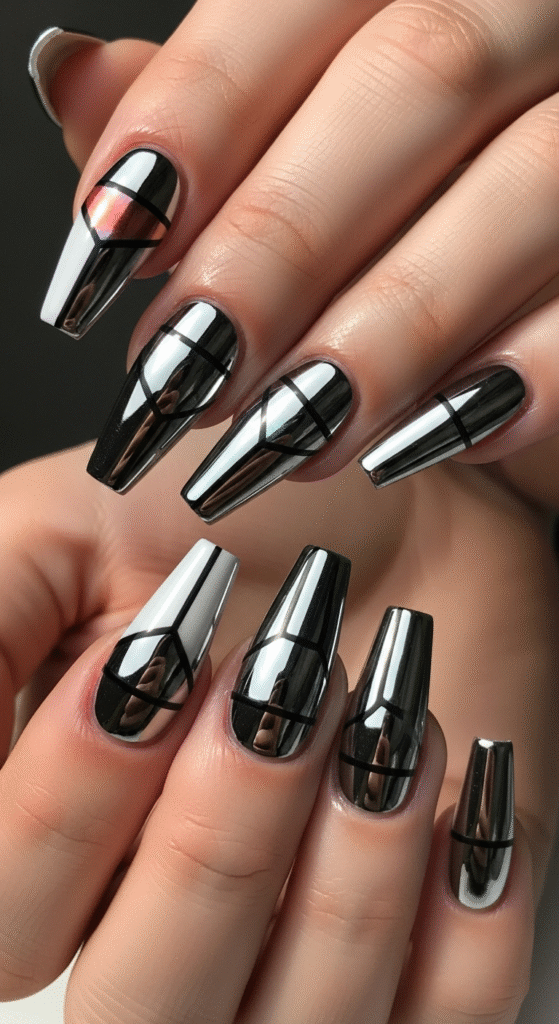
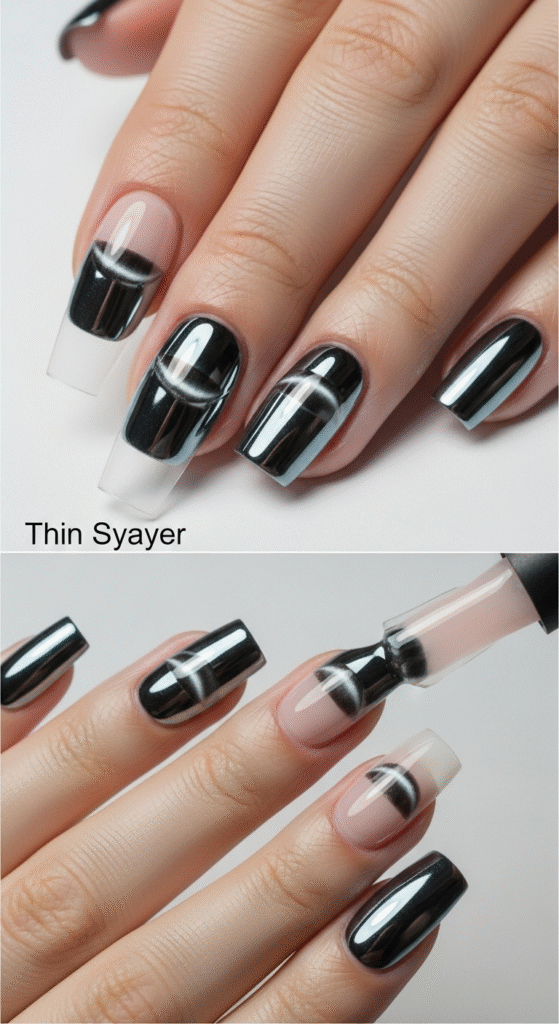
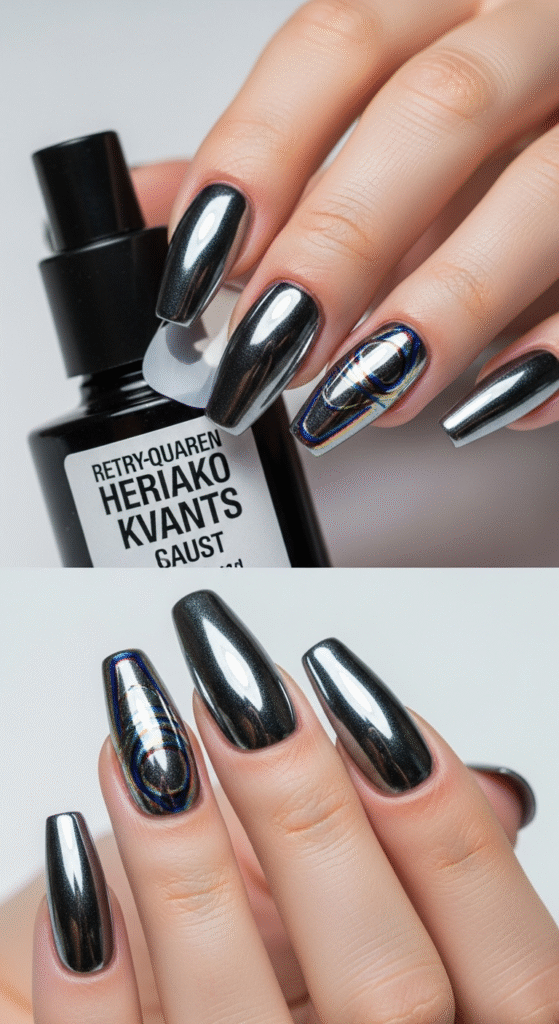
8. Black Mirror Elegance
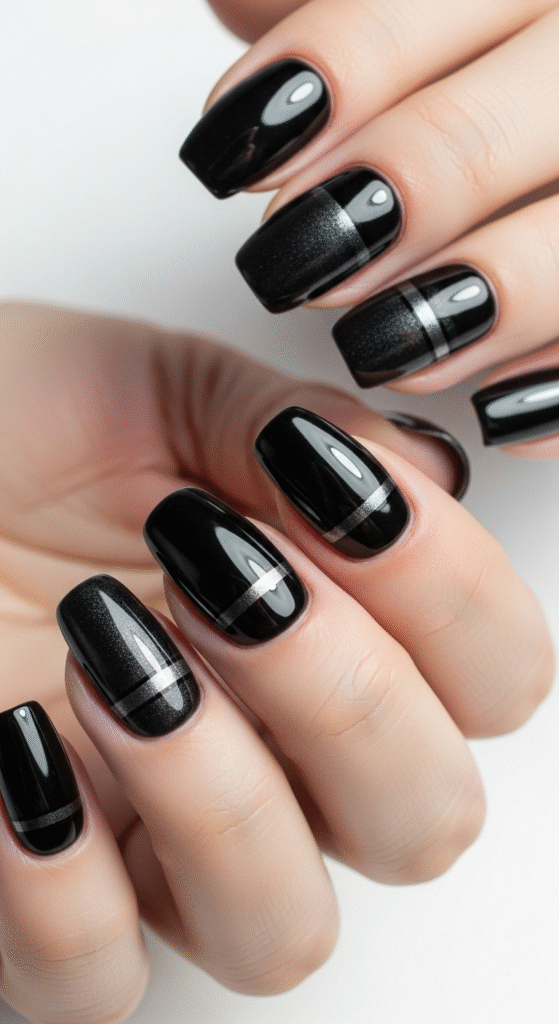
Want to feel like you’re in a dystopian thriller? Black cat eye chrome is sleek, modern, and goes with absolutely everything. Fair warning: you might become slightly obsessed with staring at your own nails.
9. Golden Hour Glow

This gold chrome captures that perfect sunset lighting we’re all chasing on Instagram. The cat eye effect makes it look like liquid gold flowing across your nails.
10. Lavender Dreams
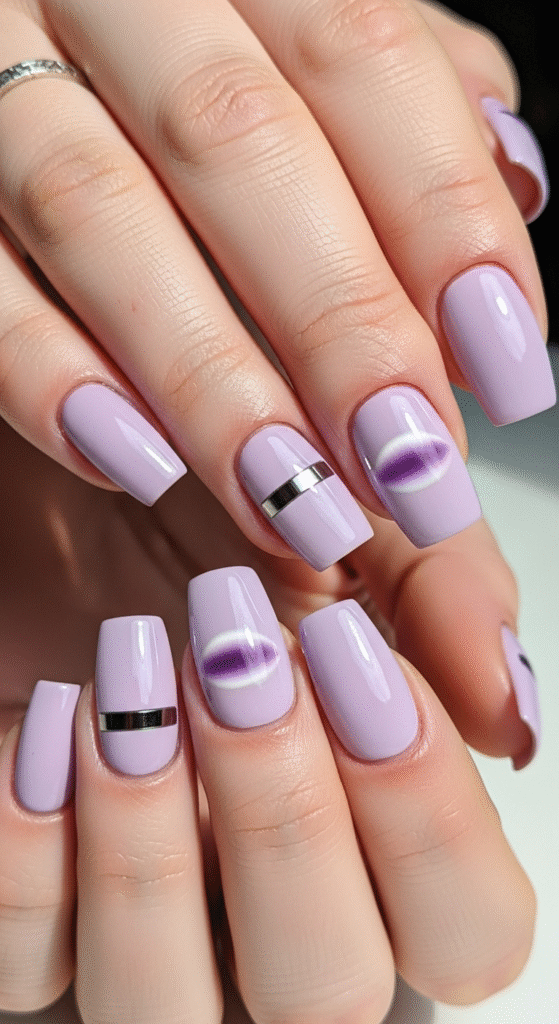
Soft, dreamy, but still eye-catching. Lavender cat eye chrome is perfect for spring, and it photographs beautifully (trust me, your social media will thank you).
Advanced Techniques for Next-Level Chrome Nails
11. Double Cat Eye Chrome
Why have one cat eye when you can have two? This technique uses two magnetic swipes in different directions, creating a cross-hatch pattern that’s absolutely mesmerizing.
12. Ombré Cat Eye Chrome

Start with one chrome shade at the base and fade into another at the tips. The gradient effect combined with the magnetic stripe creates depth that regular ombré can’t touch.
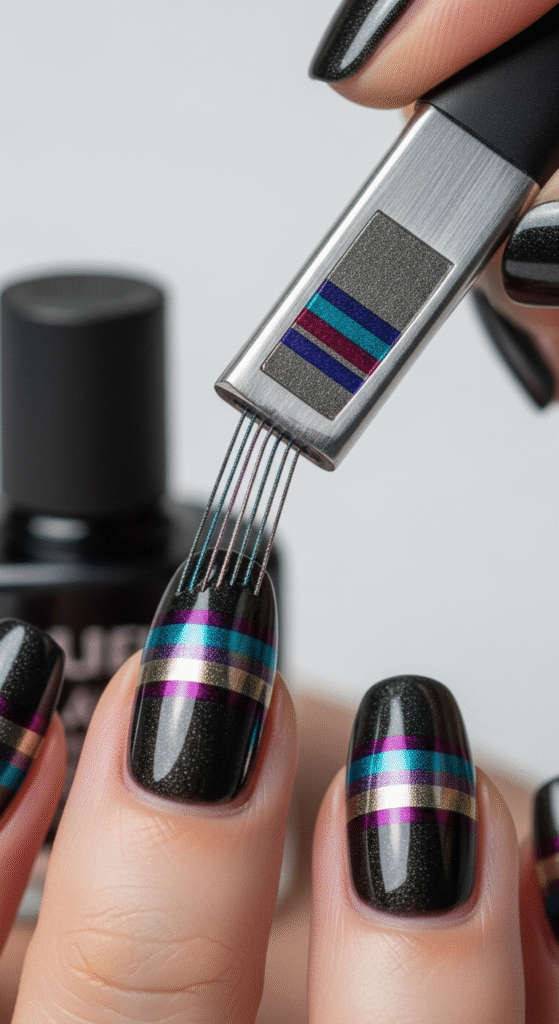
13. Geometric Cat Eye Chrome
Use tape to create clean lines and apply the cat eye chrome in geometric patterns. It’s modern art for your fingertips, and surprisingly easier than it looks.
14. Matte Top Coat Chrome
Here’s where things get interesting. Apply a matte top coat over your cat eye chrome for a completely different vibe. The magnetic effect stays, but the finish becomes sophisticated and understated.
15. Holographic Cat Eye Chrome
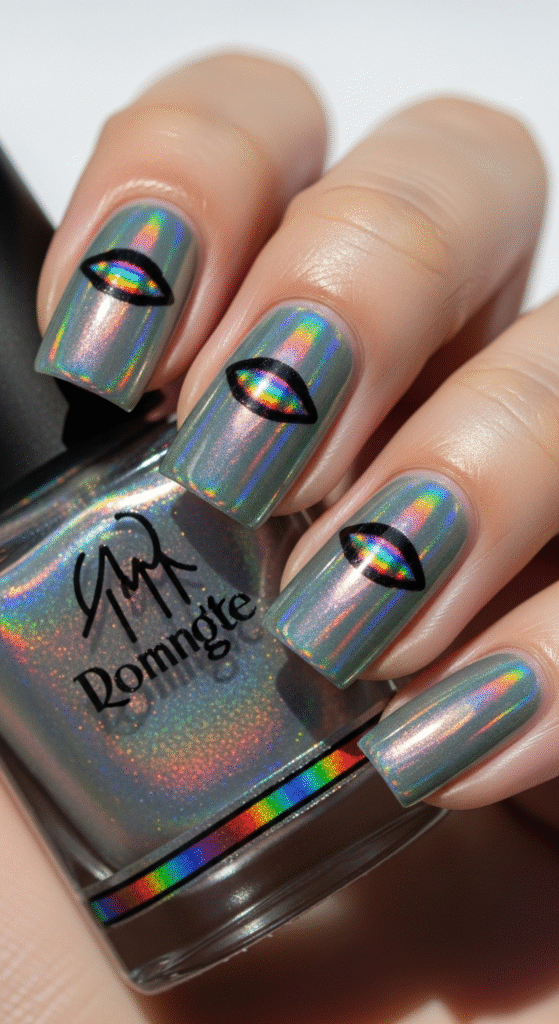
Combine holographic powder with your chrome base before applying the magnetic polish. The result? Rainbow reflections that shift and change like an oil slick.
Pro Tips for Perfect Application
Ever wonder why some cat eye chrome nails look salon-perfect while others look like a hot mess? It’s all in the technique, and I learned this the hard way after several failed attempts.
16. Temperature Control Chrome
Apply your base in a room temperature environment. Too hot or too cold, and the chrome powder won’t adhere properly. I learned this during a summer attempt in my non-air-conditioned apartment – disaster doesn’t begin to cover it.
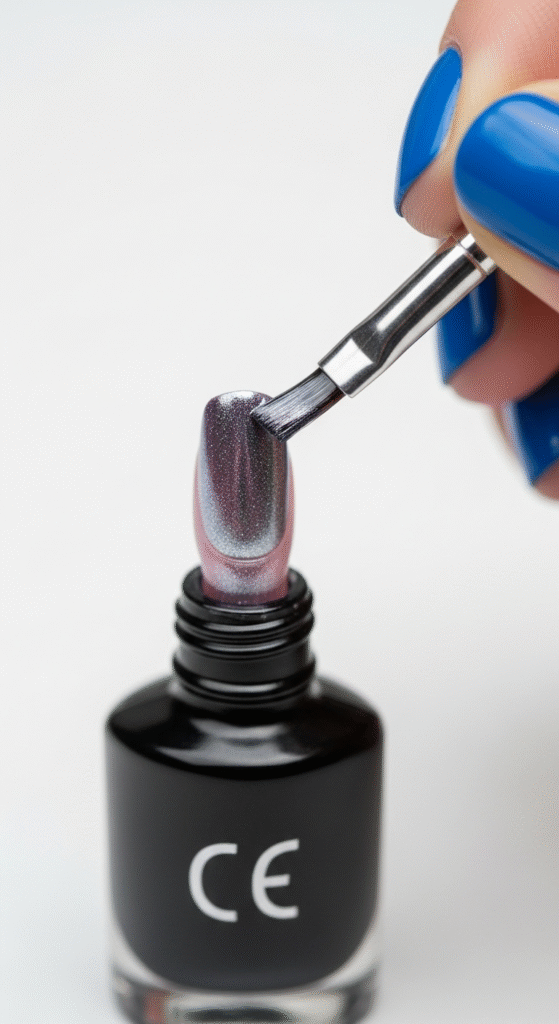
17. Layered Chrome Technique
Build your chrome in thin layers rather than one thick application. Multiple thin coats give you better coverage and that mirror finish we’re all after.
18. Magnetic Timing Chrome
Hold your magnet 5-10 seconds over wet polish for the best cat eye effect. Too short and the effect is weak; too long and you’ll drag the polish around. It’s a Goldilocks situation.
19. Clean-Up Chrome
Use a small brush dipped in acetone to clean up any chrome dust that escaped onto your cuticles. This stuff gets everywhere, but the cleanup is worth the final result.
20. Seal the Deal Chrome
Always finish with a high-quality top coat. It protects your chrome finish and keeps that mirror shine intact for weeks.
Making Your Chrome Nails Last
Let’s be real – chrome nails are an investment in time and effort. You want them to last, right? Here’s what I’ve learned from countless manicures and a few epic fails.
Prep work is everything. Clean, dehydrated nails are crucial for chrome adhesion. I use a nail dehydrator before starting, and it makes a world of difference in longevity.
Oil is the enemy. Any oil residue on your nails will prevent proper chrome adhesion. Wash your hands thoroughly and avoid hand cream before application.
Quality matters. Cheap chrome powders give you cheap results. Invest in professional-grade materials if you want that salon-quality finish.
Color Theory and Occasion Matching
Choosing the right chrome shade isn’t just about personal preference – it’s about understanding when and where you’ll be wearing them.
Cool-toned chromes (silver, blue, purple) work better with professional settings and cooler weather. Warm-toned chromes (gold, copper, rose gold) are perfect for social events and warmer seasons.
For special occasions, go bold with deep colors like burgundy or emerald. For everyday wear, stick with classic silver or subtle rose gold.
The Psychology of Chrome Nails
Why do we love chrome nails so much? There’s actually some psychology behind our obsession with these reflective beauties.
The mirror-like finish triggers our fascination with light and reflection – the same reason we’re drawn to jewelry, water, and shiny objects. The cat eye effect adds movement and depth that keeps our brains engaged.
Plus, let’s be honest, there’s something empowering about having nails that literally reflect light. You feel more confident, more put-together, more ready to take on whatever the day throws at you.
Common Mistakes and How to Avoid Them
After countless attempts and a few spectacular failures, I’ve compiled the most common chrome nail mistakes. Learn from my pain, people.
Mistake #1: Applying chrome over uncured gel polish. The result? Patchy, streaky coverage that looks more “failed science experiment” than “mirror finish.”
Mistake #2: Using too much pressure when applying chrome powder. Light, gentle buffing motions work better than aggressive rubbing.
Mistake #3: Skipping the base coat. Chrome powder needs something to grip onto, and naked nails just won’t cut it.
FYI, I made all of these mistakes during my first attempt. The result was so bad I had to remove everything and start over :/
Maintenance and Touch-Ups
Chrome nails require a bit more maintenance than regular polish, but it’s totally manageable with the right approach.
Weekly maintenance involves gently buffing any rough edges and applying a fresh layer of top coat. This keeps the mirror finish intact and prevents chipping.
For minor chips, you can spot-treat with a tiny amount of chrome powder and seal with top coat. It won’t be perfect, but it’ll buy you time until your next full manicure.
Cuticle oil is your friend, but apply it carefully. Too much oil can cause lifting around the nail edges.
Chrome nails have completely changed my relationship with nail art. They’re bold enough to make a statement but versatile enough for everyday wear. The initial learning curve might seem intimidating, but once you get the technique down, you’ll wonder how you ever lived without these mirror-finish masterpieces.
Whether you start with classic silver or jump straight into the deep end with holographic chrome, you’re in for a treat. Just remember – once you go chrome, regular polish feels pretty boring. Don’t say I didn’t warn you! 😉
IMO, the investment in quality materials and technique practice is totally worth it. Your fingertips will thank you, and your confidence will skyrocket every time you catch that perfect light reflection.