10 Cute Easter Nail Art Ideas You’ll Want to Try Now
Easter’s almost here, and you know what that means – time to ditch those boring winter nails for something that screams spring celebration! I’ve been experimenting with Easter nail designs for years (some disasters included, trust me), and I’ve finally nailed down the cutest ideas that’ll make your fingertips the star of every Easter brunch. Ready to hop into some seriously adorable nail art? Let’s get those creative juices flowing! Click here to level up your fashion game → What suits on you!
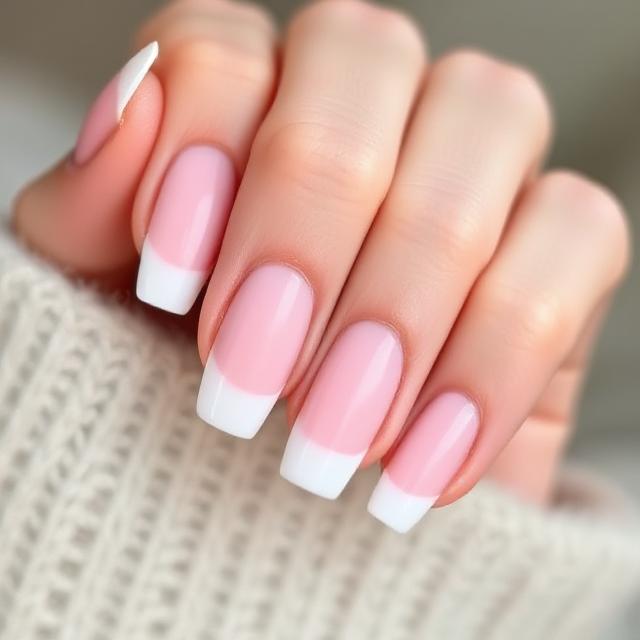
1. Classic Pastel Ombre Easter Nails
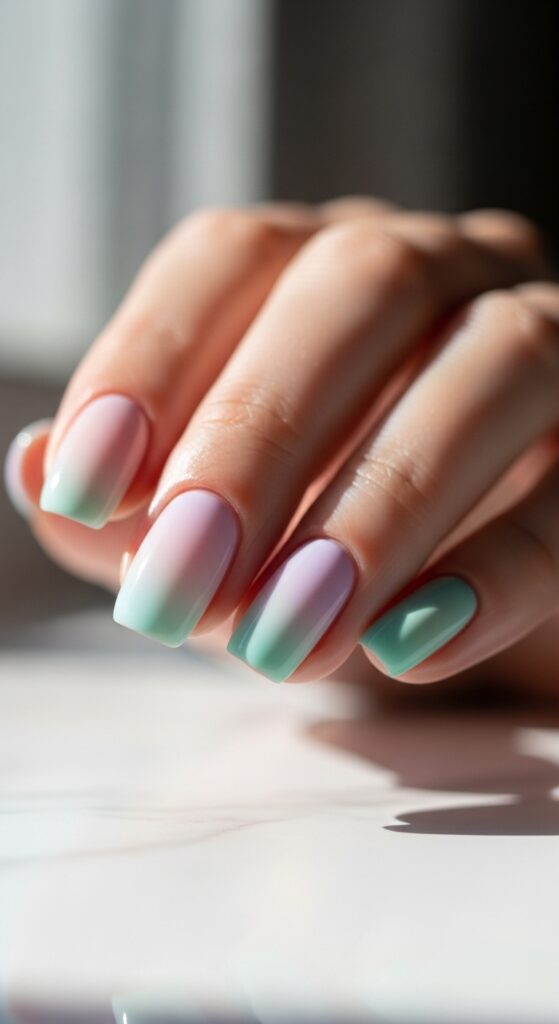
Nothing says Easter like soft pastels cascading across your nails. This look is surprisingly easy to achieve, even if you’re not exactly Michelangelo with a nail brush. I love starting with a white base and blending in soft pinks, lavenders, and mint greens.
Here’s what makes this design foolproof:
- Use a makeup sponge to dab colors together
- Work quickly while polish is still wet
- Start with lighter shades and build up
- Finish with a glossy top coat for that perfect gradient
The best part? Even if your blending isn’t perfect, the soft colors are forgiving. IMO, imperfect ombre actually looks more natural and chic than overly precise gradients.
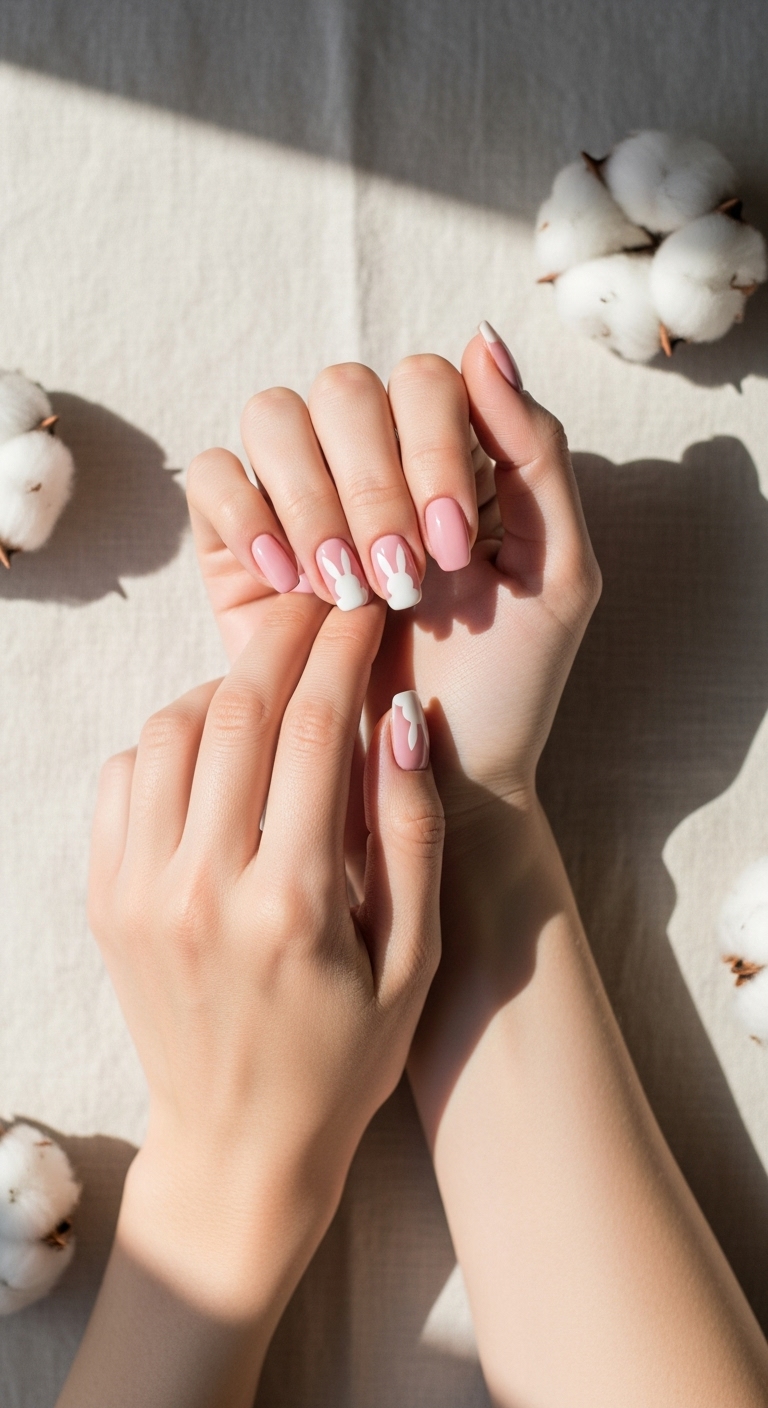
2. Adorable Easter Bunny Silhouettes
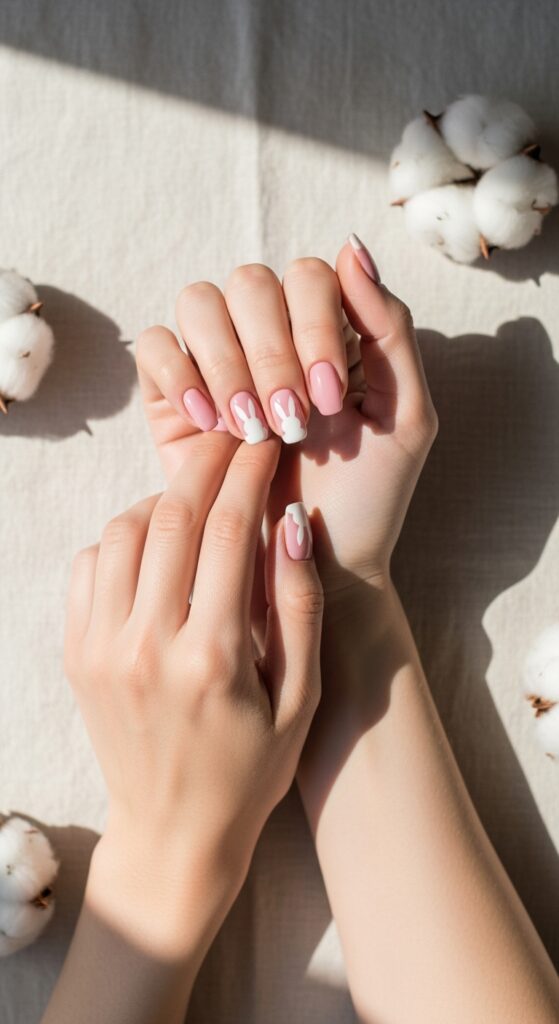
Who doesn’t love a cute bunny face peeking out from their fingertips? This design always gets compliments, and honestly, it’s easier than you’d think. I typically paint my nails in a soft pink or lavender base, then use white polish to create simple bunny shapes.
Key tips for bunny perfection:
- Use a small detail brush or toothpick for ears
- Add tiny black dots for eyes using a dotting tool
- Pink dots for the nose complete the look
- Practice on paper first if you’re nervous
Ever wondered why bunny nails are so popular during Easter? They’re just universally adorable, and they work on any nail length!
3. Delicate Easter Egg Patterns
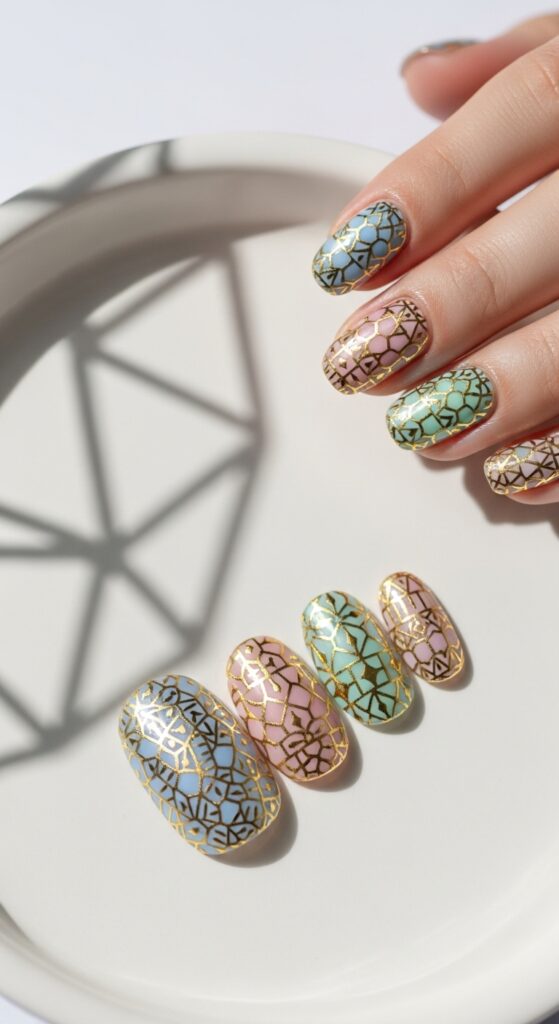
Easter eggs on nails are like wearing tiny masterpieces on your fingertips. I’ve tried everything from simple stripes to intricate floral patterns, and each nail becomes its own little canvas. The trick is keeping each design different but cohesive.
My favorite egg patterns include:
- Thin gold stripes on pastel bases
- Tiny floral details with a fine brush
- Geometric patterns using tape as guides
- Polka dots in contrasting colors
Pro tip: Use striping tape to create clean lines, then remove it while the polish is slightly wet for crisp edges.
4. Fresh Spring Flower Nail Art
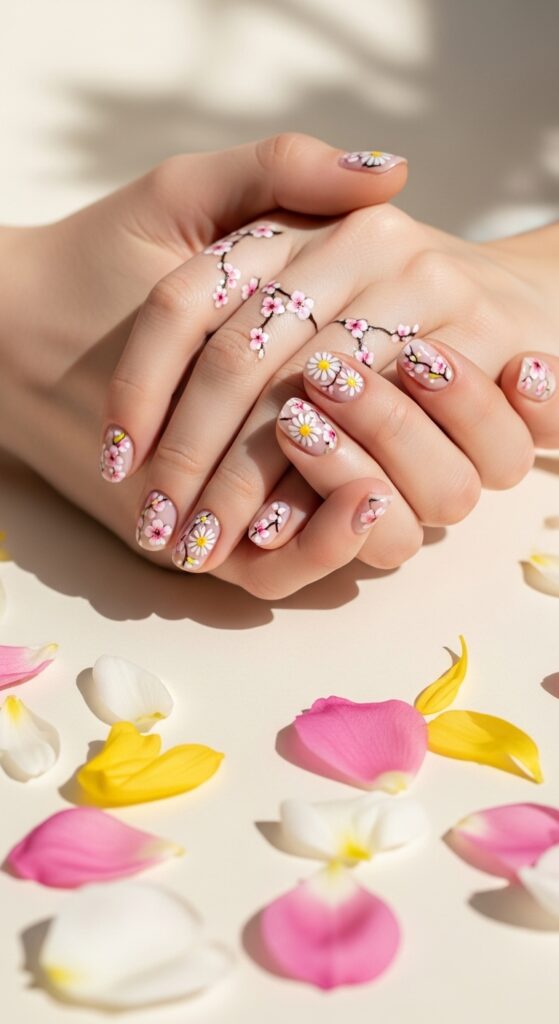
Nothing captures Easter’s fresh energy like delicate flowers blooming across your nails. I’m obsessed with creating tiny daisies and cherry blossoms – they’re surprisingly simple once you get the hang of it.
The easiest flowers to master:
- Simple daisies using white petals around yellow centers
- Cherry blossoms with pink petals and brown branches
- Tiny tulips in bright spring colors
- Dandelion seeds floating across a blue base
Start with one accent nail if you’re feeling intimidated. Once you nail the technique (pun intended :)), you can expand to multiple fingers.
5. Playful Carrot and Garden Theme
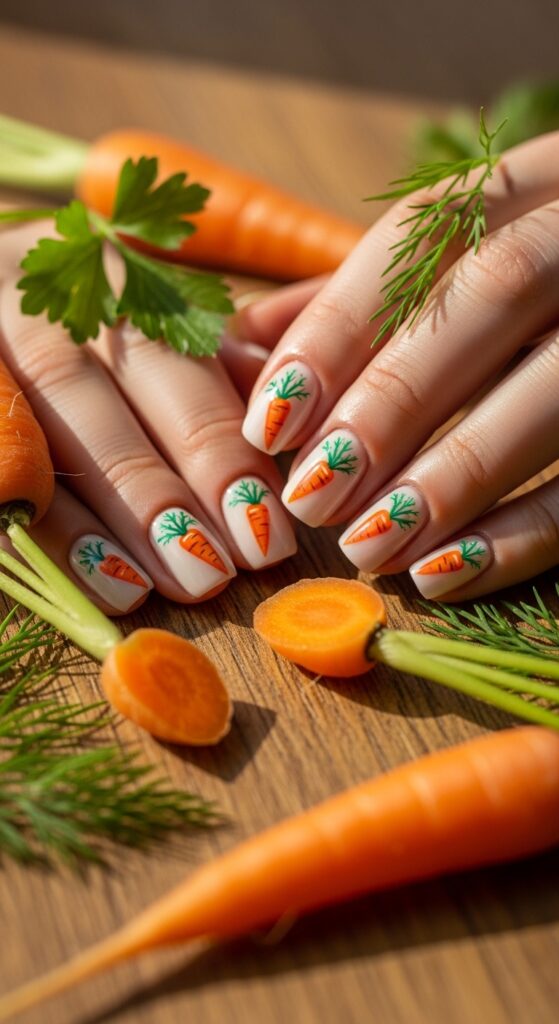
This one’s for those who want something a bit different! Carrot nails are quirky, fun, and perfect for Easter. I love painting tiny orange carrots with green leafy tops – it’s like having a miniature garden on my hands.
Garden theme variations:
- Orange carrots with detailed green tops
- Tiny radishes in pink and white
- Green peas in pods
- Little mushrooms for a whimsical touch
The best part about garden nails? They’re conversation starters. People always ask about them, and honestly, who doesn’t love talking about cute nail art?
6. Elegant Easter Cross Designs

For those wanting something more meaningful, Easter cross designs offer a beautiful way to celebrate the holiday’s spiritual significance. I prefer subtle approaches – thin gold crosses on soft pink bases or delicate white crosses on lavender.
Sophisticated cross variations:
- Minimalist thin line crosses
- Crosses incorporated into floral designs
- Metallic accent crosses on matte bases
- Small crosses as accent details
These designs work beautifully for Easter church services and maintain that elegant, reverent feel while still being festive.
7. Cheerful Chick and Duckling Art
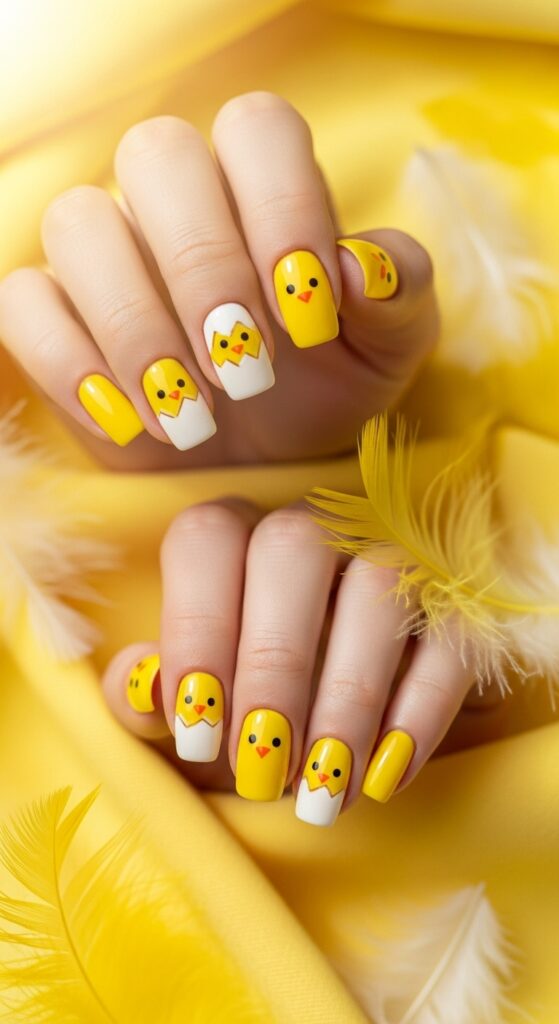
Baby chicks are pure Easter joy in nail form! These little yellow fluffballs always make me smile, and they’re surprisingly straightforward to create. I use bright yellow polish for the body and add tiny orange beaks and black dot eyes.
Chick nail essentials:
- Bright yellow base for the chick body
- Orange accents for beaks and feet
- Black dots for eyes
- Optional: nest details with brown polish
FYI, using a small dotting tool makes creating perfect round chick bodies so much easier than trying to paint them freehand.
8. Sophisticated Lavender and Gold Combination

Sometimes you want Easter nails that feel more grown-up, and lavender with gold accents hits that sweet spot perfectly. This combination screams spring elegance without being too cutesy.
I love incorporating:
- Lavender base with gold foil accents
- Geometric gold patterns on lavender
- Gold glitter gradients over lavender
- Delicate gold line work
The secret to this look: Less is more. A few strategic gold accents create more impact than covering every nail in embellishments.
9. Whimsical Rainbow Easter Nails
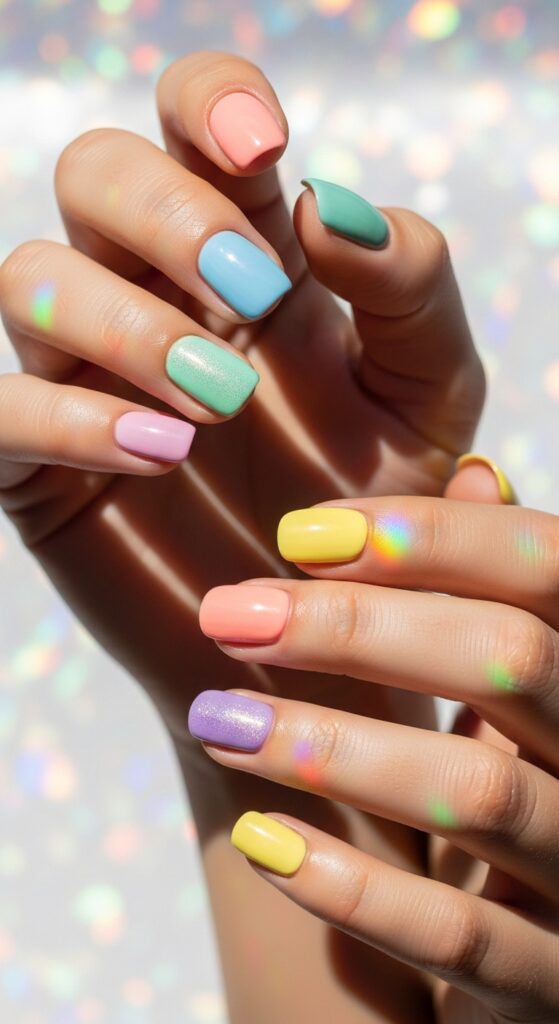
Easter is about renewal and joy, so why not celebrate with every color of the rainbow? Rainbow Easter nails bring pure happiness to your fingertips. I like to keep each nail a different pastel shade or create rainbow gradients across all ten fingers.
Rainbow approaches that work:
- Each nail a different pastel color
- Rainbow stripes across multiple nails
- Gradient rainbow on accent nails
- Rainbow glitter over clear base
This look is perfect for anyone who can’t choose just one Easter color – embrace them all!
10. Minimalist Easter Dot Art
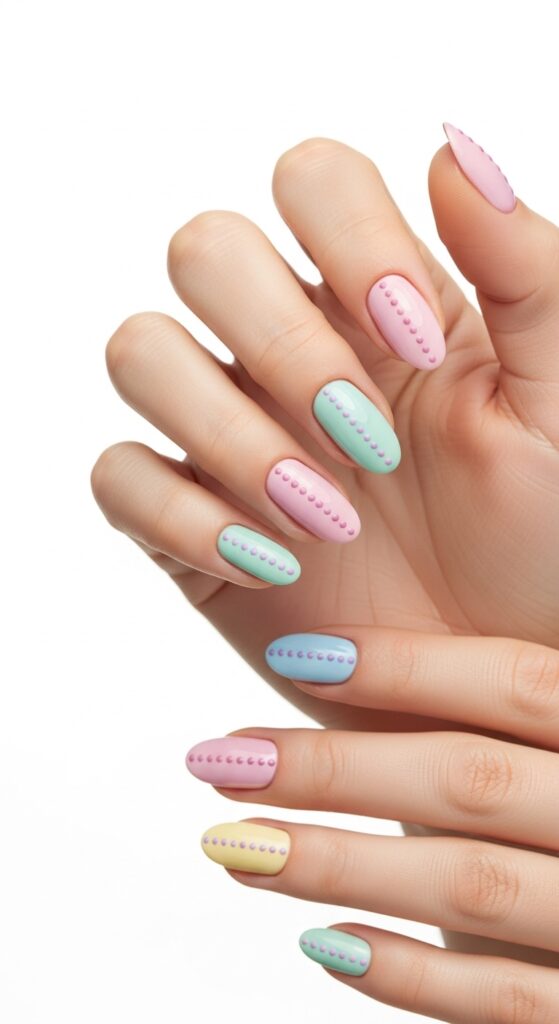
Sometimes the simplest designs pack the biggest punch. Dot art using Easter colors creates clean, modern looks that work for any occasion. I’m talking tiny pastel dots arranged in patterns, or larger dots that mimic Easter eggs.
Dot pattern ideas:
- Scattered pastel dots on nude base
- Organized dot patterns resembling flowers
- Large dots with smaller accent dots
- Gradient dots from light to dark
The beauty of dot art? You literally can’t mess it up. Even “imperfect” dots look intentionally artistic and trendy.
Final Thoughts: Making Your Easter Nails Pop
Here’s the thing about Easter nail art – it’s supposed to be fun, not stressful. I’ve learned that the designs I love most are often the ones that felt easiest and most natural to create. Don’t worry about making everything Pinterest-perfect on your first try.
My top tips for Easter nail success:
- Start with quality base and top coats
- Invest in a few good detail brushes
- Practice new techniques on practice nails first
- Embrace the imperfections – they add character!
Whether you go for adorable bunnies, elegant crosses, or cheerful rainbows, the best Easter nails are the ones that make you smile every time you look at your hands. So grab your favorite polishes, put on some feel-good music, and let your creativity bloom this Easter season. Your fingertips are about to become the cutest part of your spring wardrobe 🙂