Glamorous Rhinestone Nail Art: 17 Sparkling Ideas
Your nails are about to become the most eye-catching accessory you own. I’m talking about rhinestone nail art that’ll make people stop mid-conversation just to stare at your fingertips. Trust me, I’ve been there – walking into a room and watching heads turn because my nails were literally sparkling under the lights.
Rhinestone nail art isn’t just a trend; it’s a statement. Whether you’re heading to a wedding, a night out, or just want to feel fabulous on a Tuesday, these 17 ideas will transform your regular mani into a work of art that screams luxury. Click here to level up your fashion game → What suits on you!
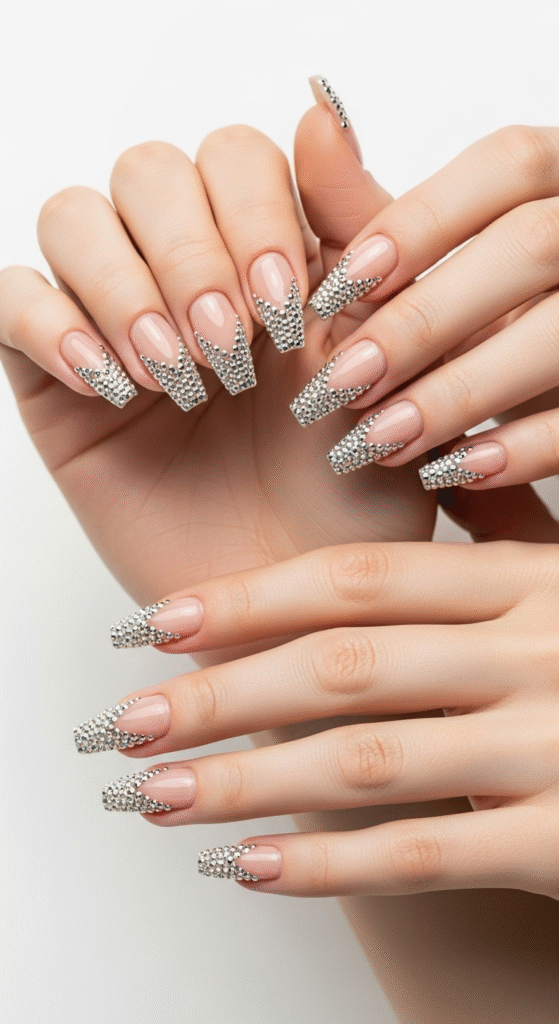
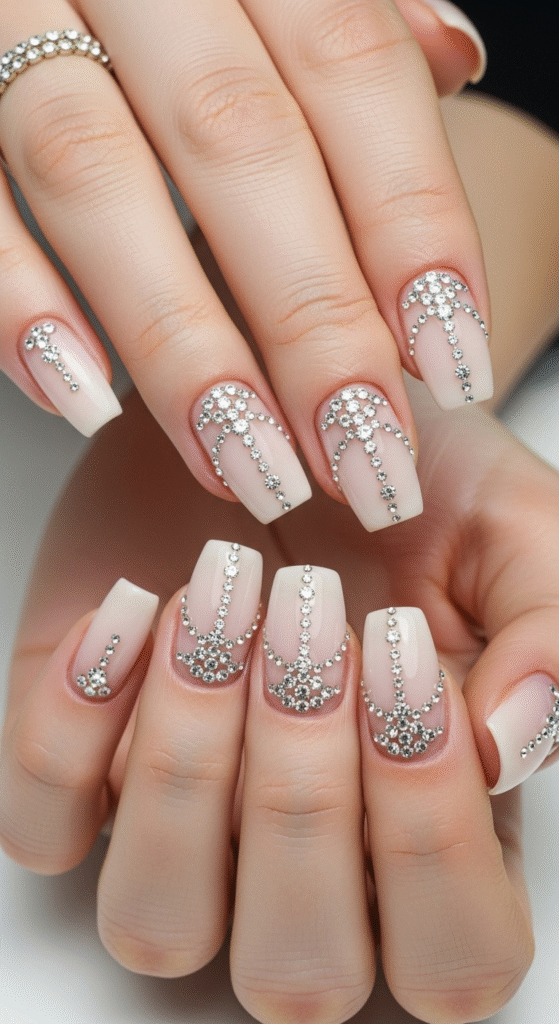
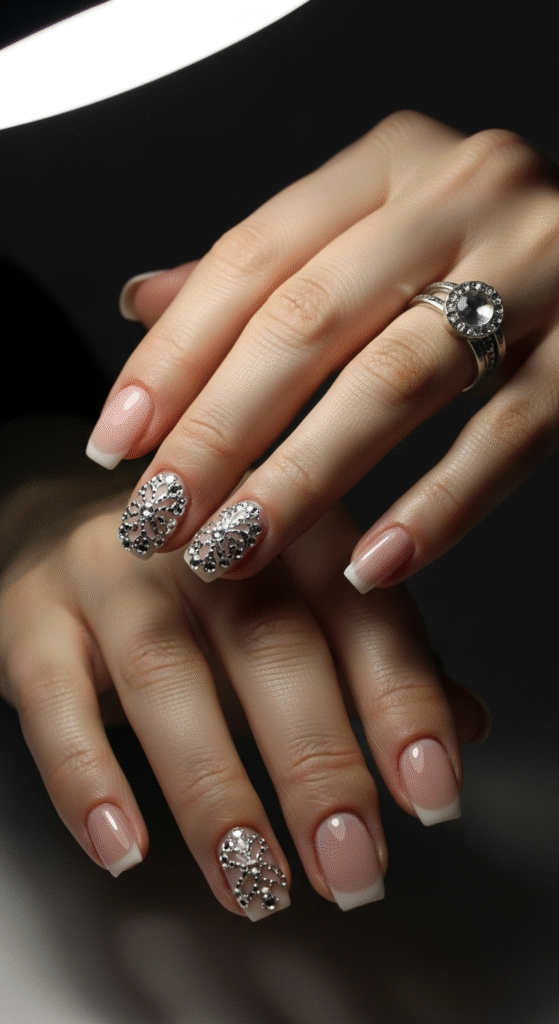
1. Classic French Tips with Crystal Accents
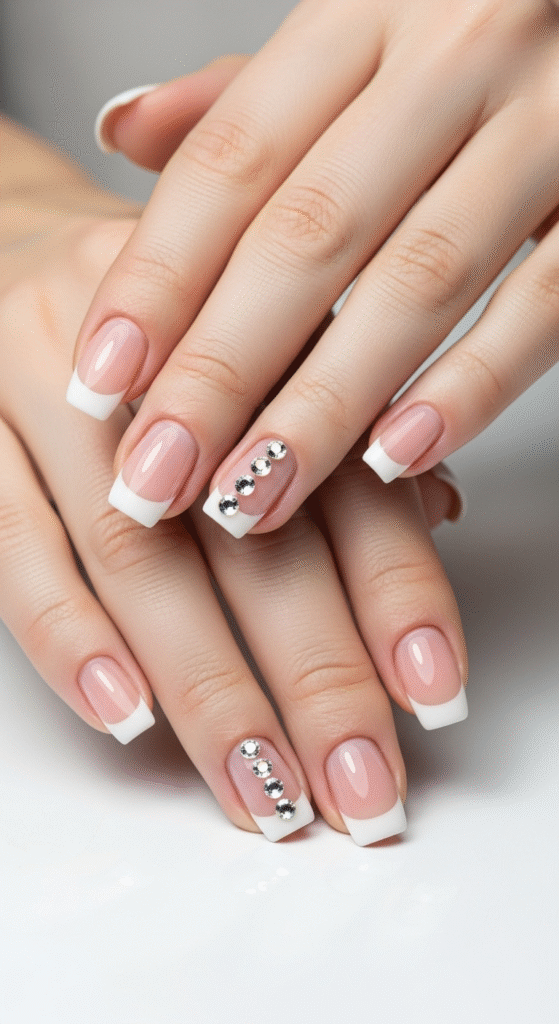
Let’s start with something that’ll never go out of style. I love taking the traditional French manicure and giving it a glamorous twist with tiny rhinestones placed right at the tip line.
The beauty of this design lies in its simplicity. You’re not overwhelming your nails, but you’re definitely making them unforgettable. I usually place 2-3 small clear crystals on each nail, focusing on the ring and middle fingers for maximum impact.
Pro tip: Use a nude or pale pink base to let those rhinestones really pop. The contrast is chef’s kiss perfect.
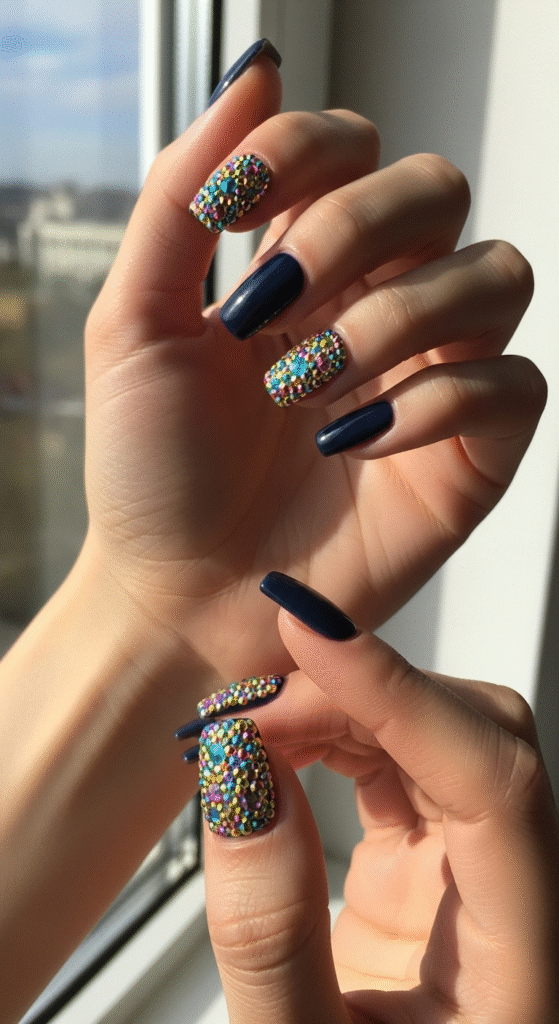
2. Accent Nail Galaxy
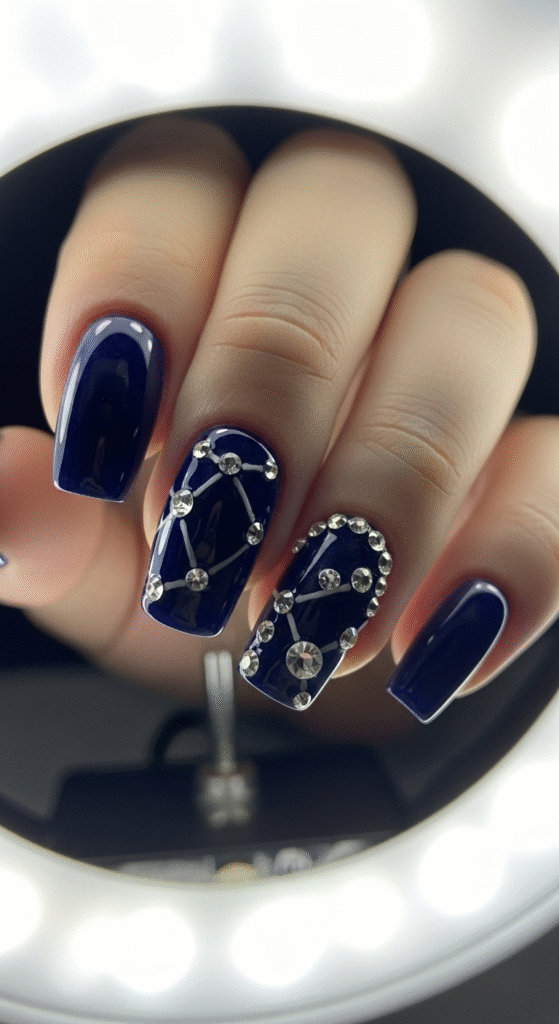
Ever wondered what it would look like if you captured a starry night on your nails? This design answers that question beautifully.
Pick one accent nail (usually the ring finger) and go absolutely wild with rhinestones of different sizes. I’m talking about creating a constellation effect that’ll make people think you’ve got actual diamonds glued to your nails.
Use a dark blue or black base, then layer crystals in various sizes – from tiny seed rhinestones to larger statement pieces. The randomness is what makes this design so captivating.
3. Gradient Rhinestone Ombre
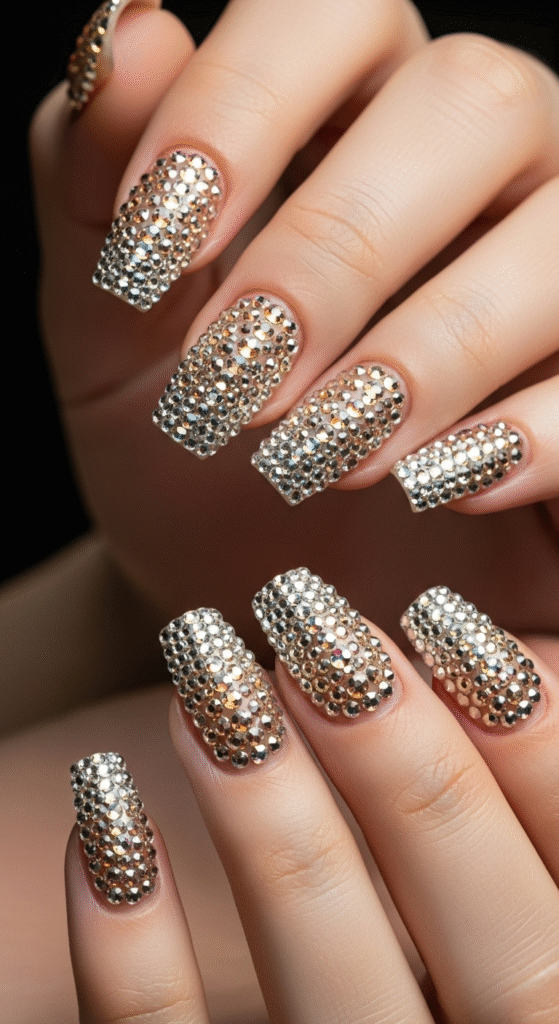
This technique requires patience, but the payoff is incredible. You’ll create a gradient effect using rhinestones that transition from dense to sparse across your nail.
Start with the heaviest concentration of crystals at the base of your nail and gradually decrease the density as you move toward the tip. I prefer using crystals in the same color family but different sizes to create depth.
Color combinations that work like magic:
- Clear to champagne
- Silver to white
- Rose gold to pink
- Blue to clear
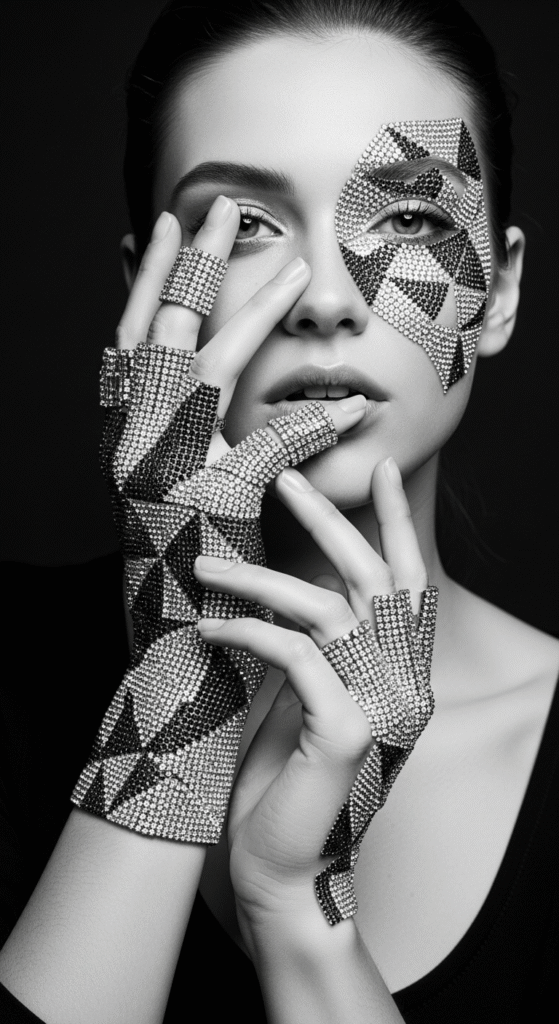
4. Geometric Crystal Patterns
Who says rhinestone nail art can’t be structured? I’m obsessed with creating geometric patterns using crystals as the building blocks.
Think triangles, diamonds, or even simple lines created entirely with rhinestones. The key is precision – each crystal needs to be perfectly placed to maintain the clean geometric look.
My personal favorite? A simple triangle outline on each nail using tiny silver rhinestones. It’s modern, chic, and surprisingly versatile.
5. Bridal White Elegance
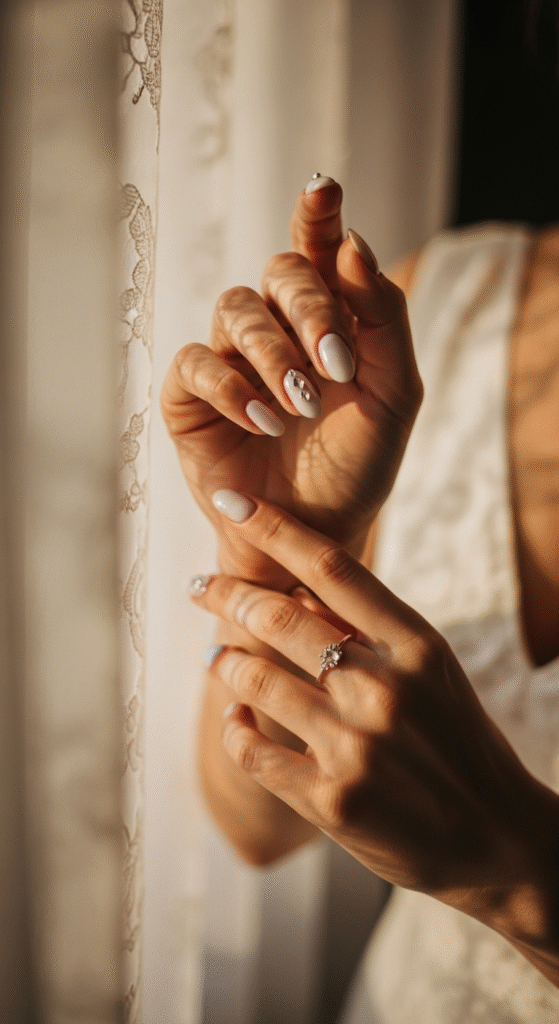
Brides, this one’s for you. Nothing says “special day” like nails that literally sparkle as you say your vows.
I recommend a white or pearl base with strategically placed clear rhinestones. Focus on creating delicate patterns – maybe a small cluster at the base of each nail or a subtle line along one side.
The goal is elegance, not Vegas showgirl (unless that’s your vibe, then go for it! 🙂 ).
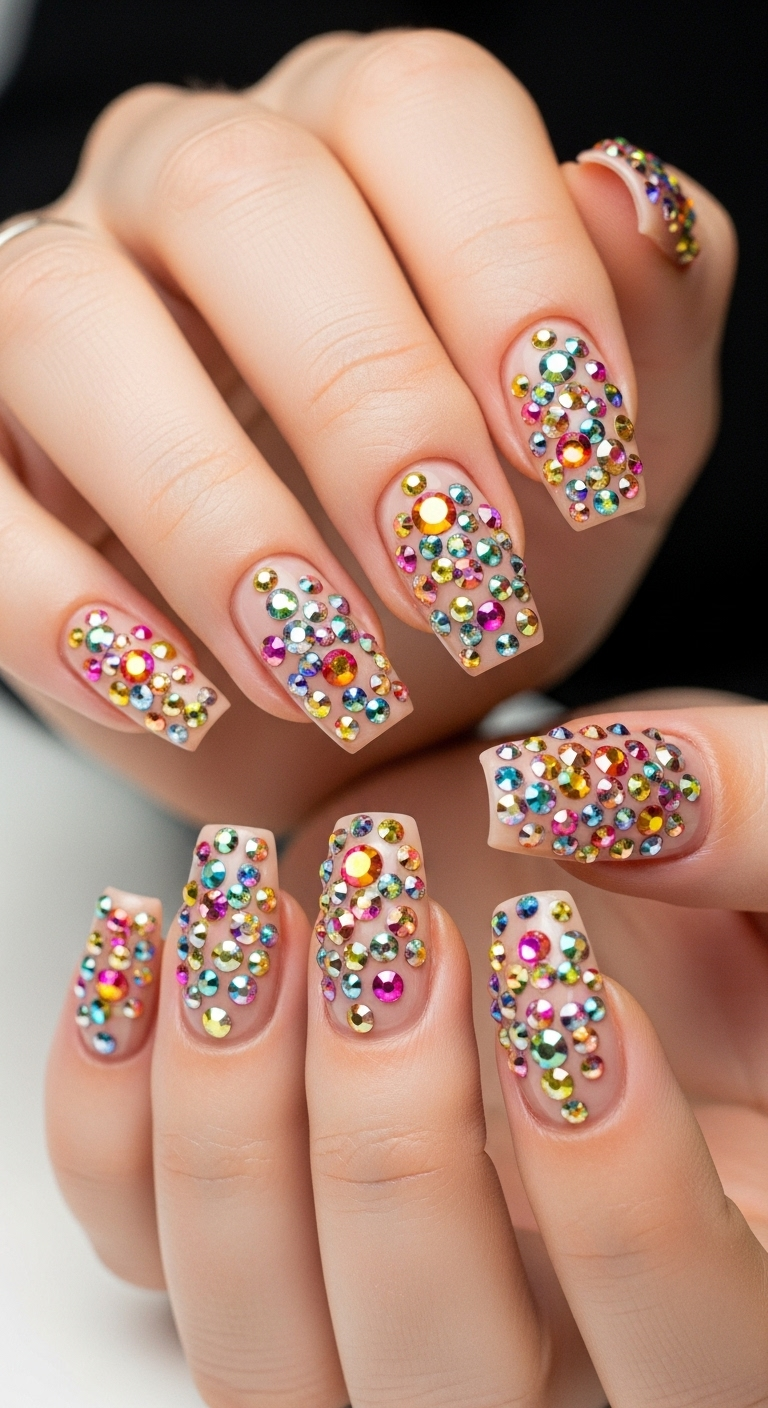
6. Rainbow Crystal Explosion

Sometimes you just want your nails to be a party, and this design delivers exactly that energy.
Use rhinestones in every color of the rainbow, but here’s the trick – keep the base neutral. A clear or nude base prevents the design from looking too chaotic while still letting you go wild with color.
I love creating this look for music festivals or any event where “too much” doesn’t exist in the vocabulary.
7. Minimalist Single Stone Statement
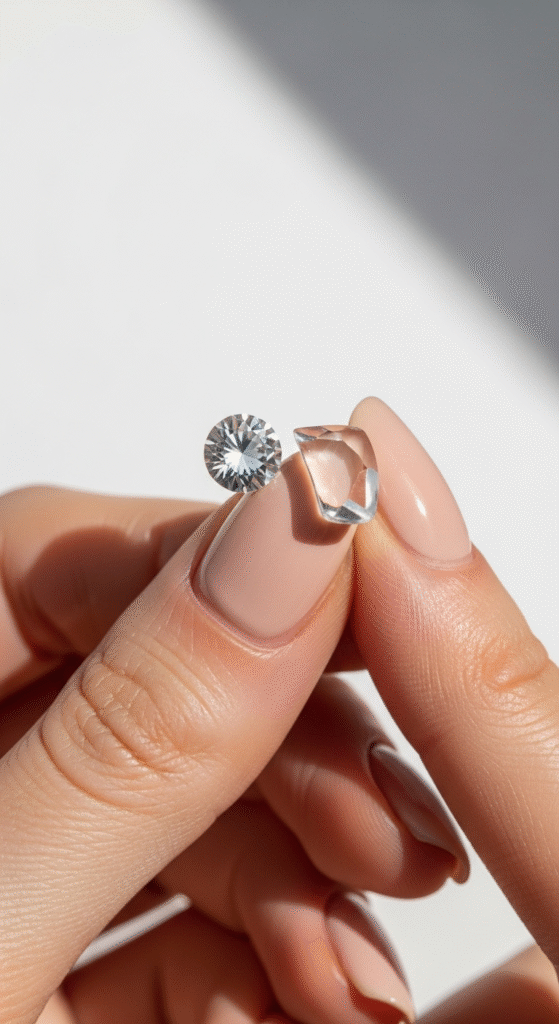
Less is more, especially when that “less” is a single, stunning rhinestone placed perfectly on each nail.
Choose larger crystals for this design – you want each stone to be a focal point. Place them at the base of the nail, slightly off-center, for a modern asymmetrical look.
This design works brilliantly for everyday wear because it’s sophisticated without being overwhelming.
8. Crystal Chain Link Effect
Here’s where things get interesting. You’ll create the illusion of delicate chains using tiny rhinestones connected in lines across your nails.
Start with a neutral base and use small, uniform crystals to create chain-like patterns. I love doing this diagonally across the nail or creating multiple thin “chains” running parallel to each other.
The effect is subtle but incredibly elegant – perfect for when you want something special that’s still office-appropriate.
9. Vintage Art Deco Inspired
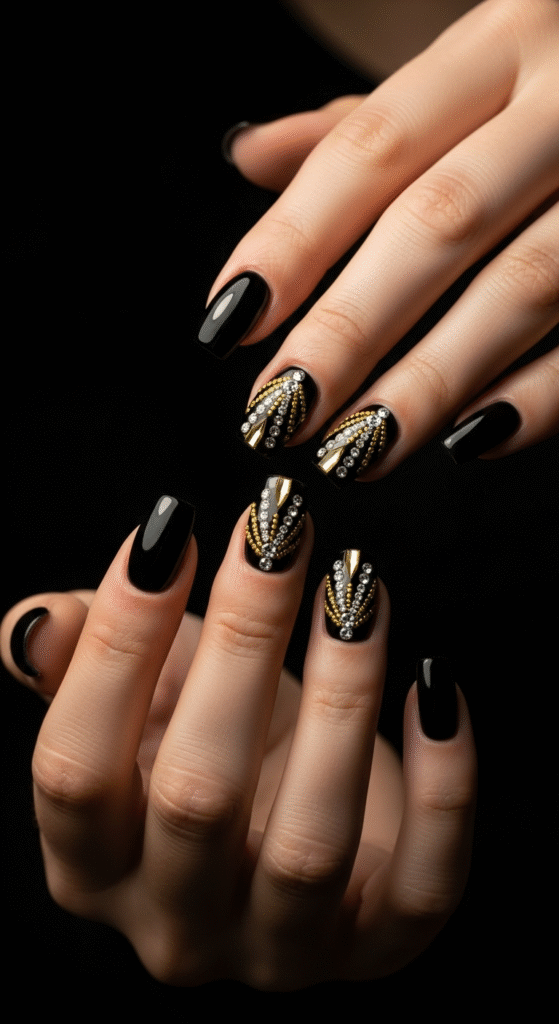
Channel your inner Great Gatsby with rhinestone patterns inspired by the Art Deco era.
Think fans, sunbursts, and geometric patterns that scream 1920s glamour. Use gold and clear rhinestones on a nude or black base for authentic vintage vibes.
This design requires some planning (maybe sketch it out first?), but the result is absolutely stunning and perfect for themed parties or when you just want to feel like a vintage movie star.
10. Celestial Moon and Stars
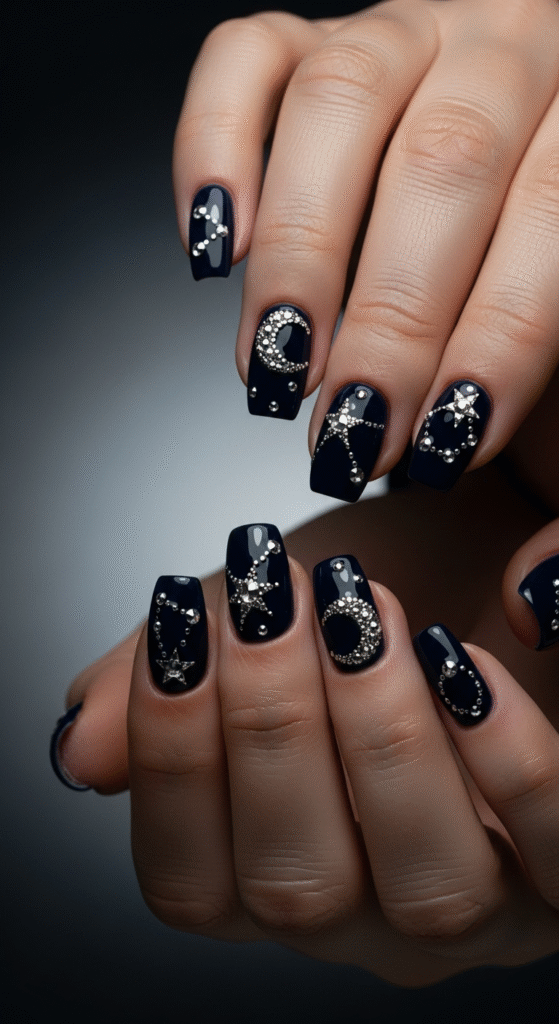
Transform your nails into a nighttime sky with rhinestone moons and stars.
Use different sized crystals to create star patterns, and add larger stones to represent moons. I love using a deep navy or black base for this design – it makes the “celestial bodies” really stand out.
FYI, this design photographs beautifully, so get ready for some serious Instagram-worthy nail shots.
11. Floral Crystal Garden
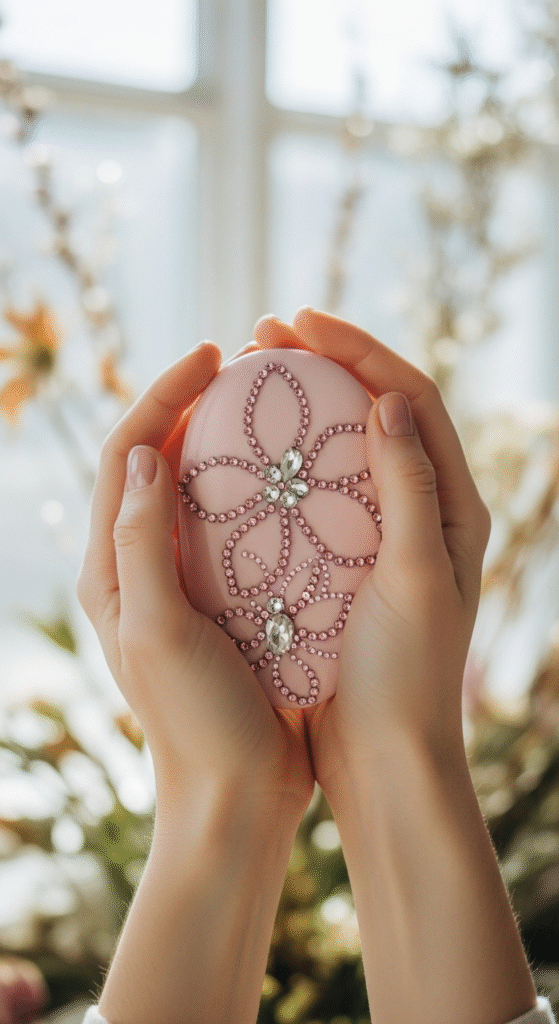
Who needs real flowers when you can create stunning floral patterns with rhinestones?
Use different colored crystals to outline flower shapes – think simple daisies or roses. The petals become individual crystals, and you can add green stones for leaves.
This design is perfect for spring and summer, but honestly, I rock floral nails year-round because they make me happy.
12. Edge of Glory Border Design
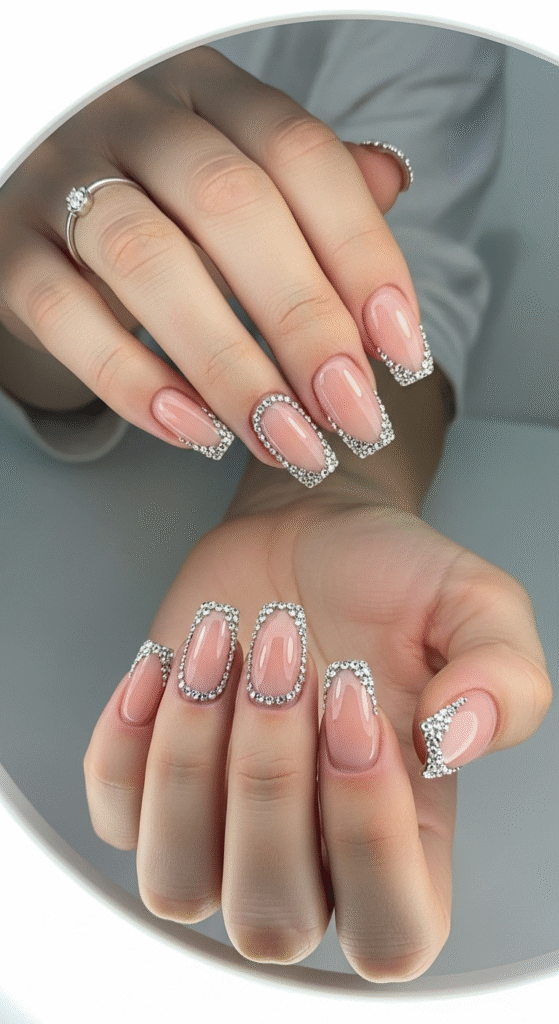
Sometimes the most impactful designs are the simplest. Create a border of rhinestones around the edge of each nail for a frame-like effect.
This works beautifully with any base color, but I’m particularly fond of how it looks on dark colors – the crystals create this amazing contrast that’s both edgy and elegant.
You can vary the size of the crystals or keep them uniform, depending on the look you’re going for.
13. Abstract Crystal Art
Let your creativity run wild with completely abstract rhinestone placement.
There are no rules here – just place crystals wherever feels right. Some nails might have clusters, others might have scattered individual stones. The randomness creates visual interest and ensures no two nails look exactly the same.
This design is perfect for artistic souls who don’t like being confined by patterns.
14. Luxury Logo Inspired
Channel high-end fashion brands with rhinestone patterns inspired by luxury logos.
Think interlocking circles, geometric monograms, or abstract symbols created entirely with crystals. The key is keeping the patterns recognizable but not obvious – you want elegance, not copyright infringement :/.
15. Textured Crystal Layers
Create depth and dimension by layering rhinestones of different sizes and heights.
Start with a base layer of flat-back crystals, then add raised elements on top. The varying heights create texture that catches light from every angle.
This technique works best on shorter nails since you’re building up layers, but the effect is absolutely mesmerizing.
16. Color-Blocked Crystal Sections

Divide each nail into sections and fill them with different colored rhinestones.
You might do horizontal stripes, vertical sections, or diagonal divisions – each filled with crystals in contrasting colors. The geometric precision combined with the sparkle creates a modern, almost futuristic look.
IMO, this design works best with 2-3 color families to avoid looking too busy.
17. Statement Ring Finger Explosion
When in doubt, go big on one nail and keep the rest simple.
Choose your ring finger as the canvas for an elaborate rhinestone masterpiece while keeping the other nails with just a few accent crystals. This creates balance while still giving you that wow factor.
I love doing intricate mandala-like patterns for this approach – it’s like wearing a tiny piece of art on your finger.
Application Tips That Actually Work
Getting rhinestones to stay put requires the right technique. I’ve learned this through plenty of trial and error (and a few crystals falling into my morning coffee).
Essential tools you’ll need:
- Tweezers (fine-tipped work best)
- Dotting tools or toothpicks
- High-quality nail glue or top coat
- A clean workspace with good lighting
Start with a base coat, add your color, then apply rhinestones while the polish is still slightly tacky. This gives them something to grip onto before you seal everything with top coat.
Pro tip: Apply crystals one nail at a time. Trying to do all ten at once is a recipe for frustration and wonky placement.
Making Your Rhinestone Nails Last
Nothing’s more heartbreaking than losing a perfectly placed rhinestone on day two. Here’s how to make your sparkly masterpiece last:
Seal everything with a high-quality top coat, making sure to cap the free edge of your nail. Avoid using your nails as tools (I know, easier said than done), and consider wearing gloves for household chores.
With proper application and care, your rhinestone nails can last up to two weeks – plenty of time to receive all the compliments they deserve.
Final Thoughts
Rhinestone nail art isn’t just about following trends; it’s about expressing yourself through tiny, sparkling details that make you feel amazing every time you look at your hands.
Whether you choose subtle elegance or full-on glamour, remember that confidence is your best accessory. Rock those rhinestones like you own the world – because with nails this gorgeous, you practically do.
Now excuse me while I go add more crystals to my collection. A girl can never have too many rhinestones, right? ✨